Refer Your Patients

Welcome to our Patient Referral Portal! We look forward to working with you to provide shorter wait times, faster report turn-around, and the highest standard of patient care.

You can refer your patients to our clinics in the following three ways:

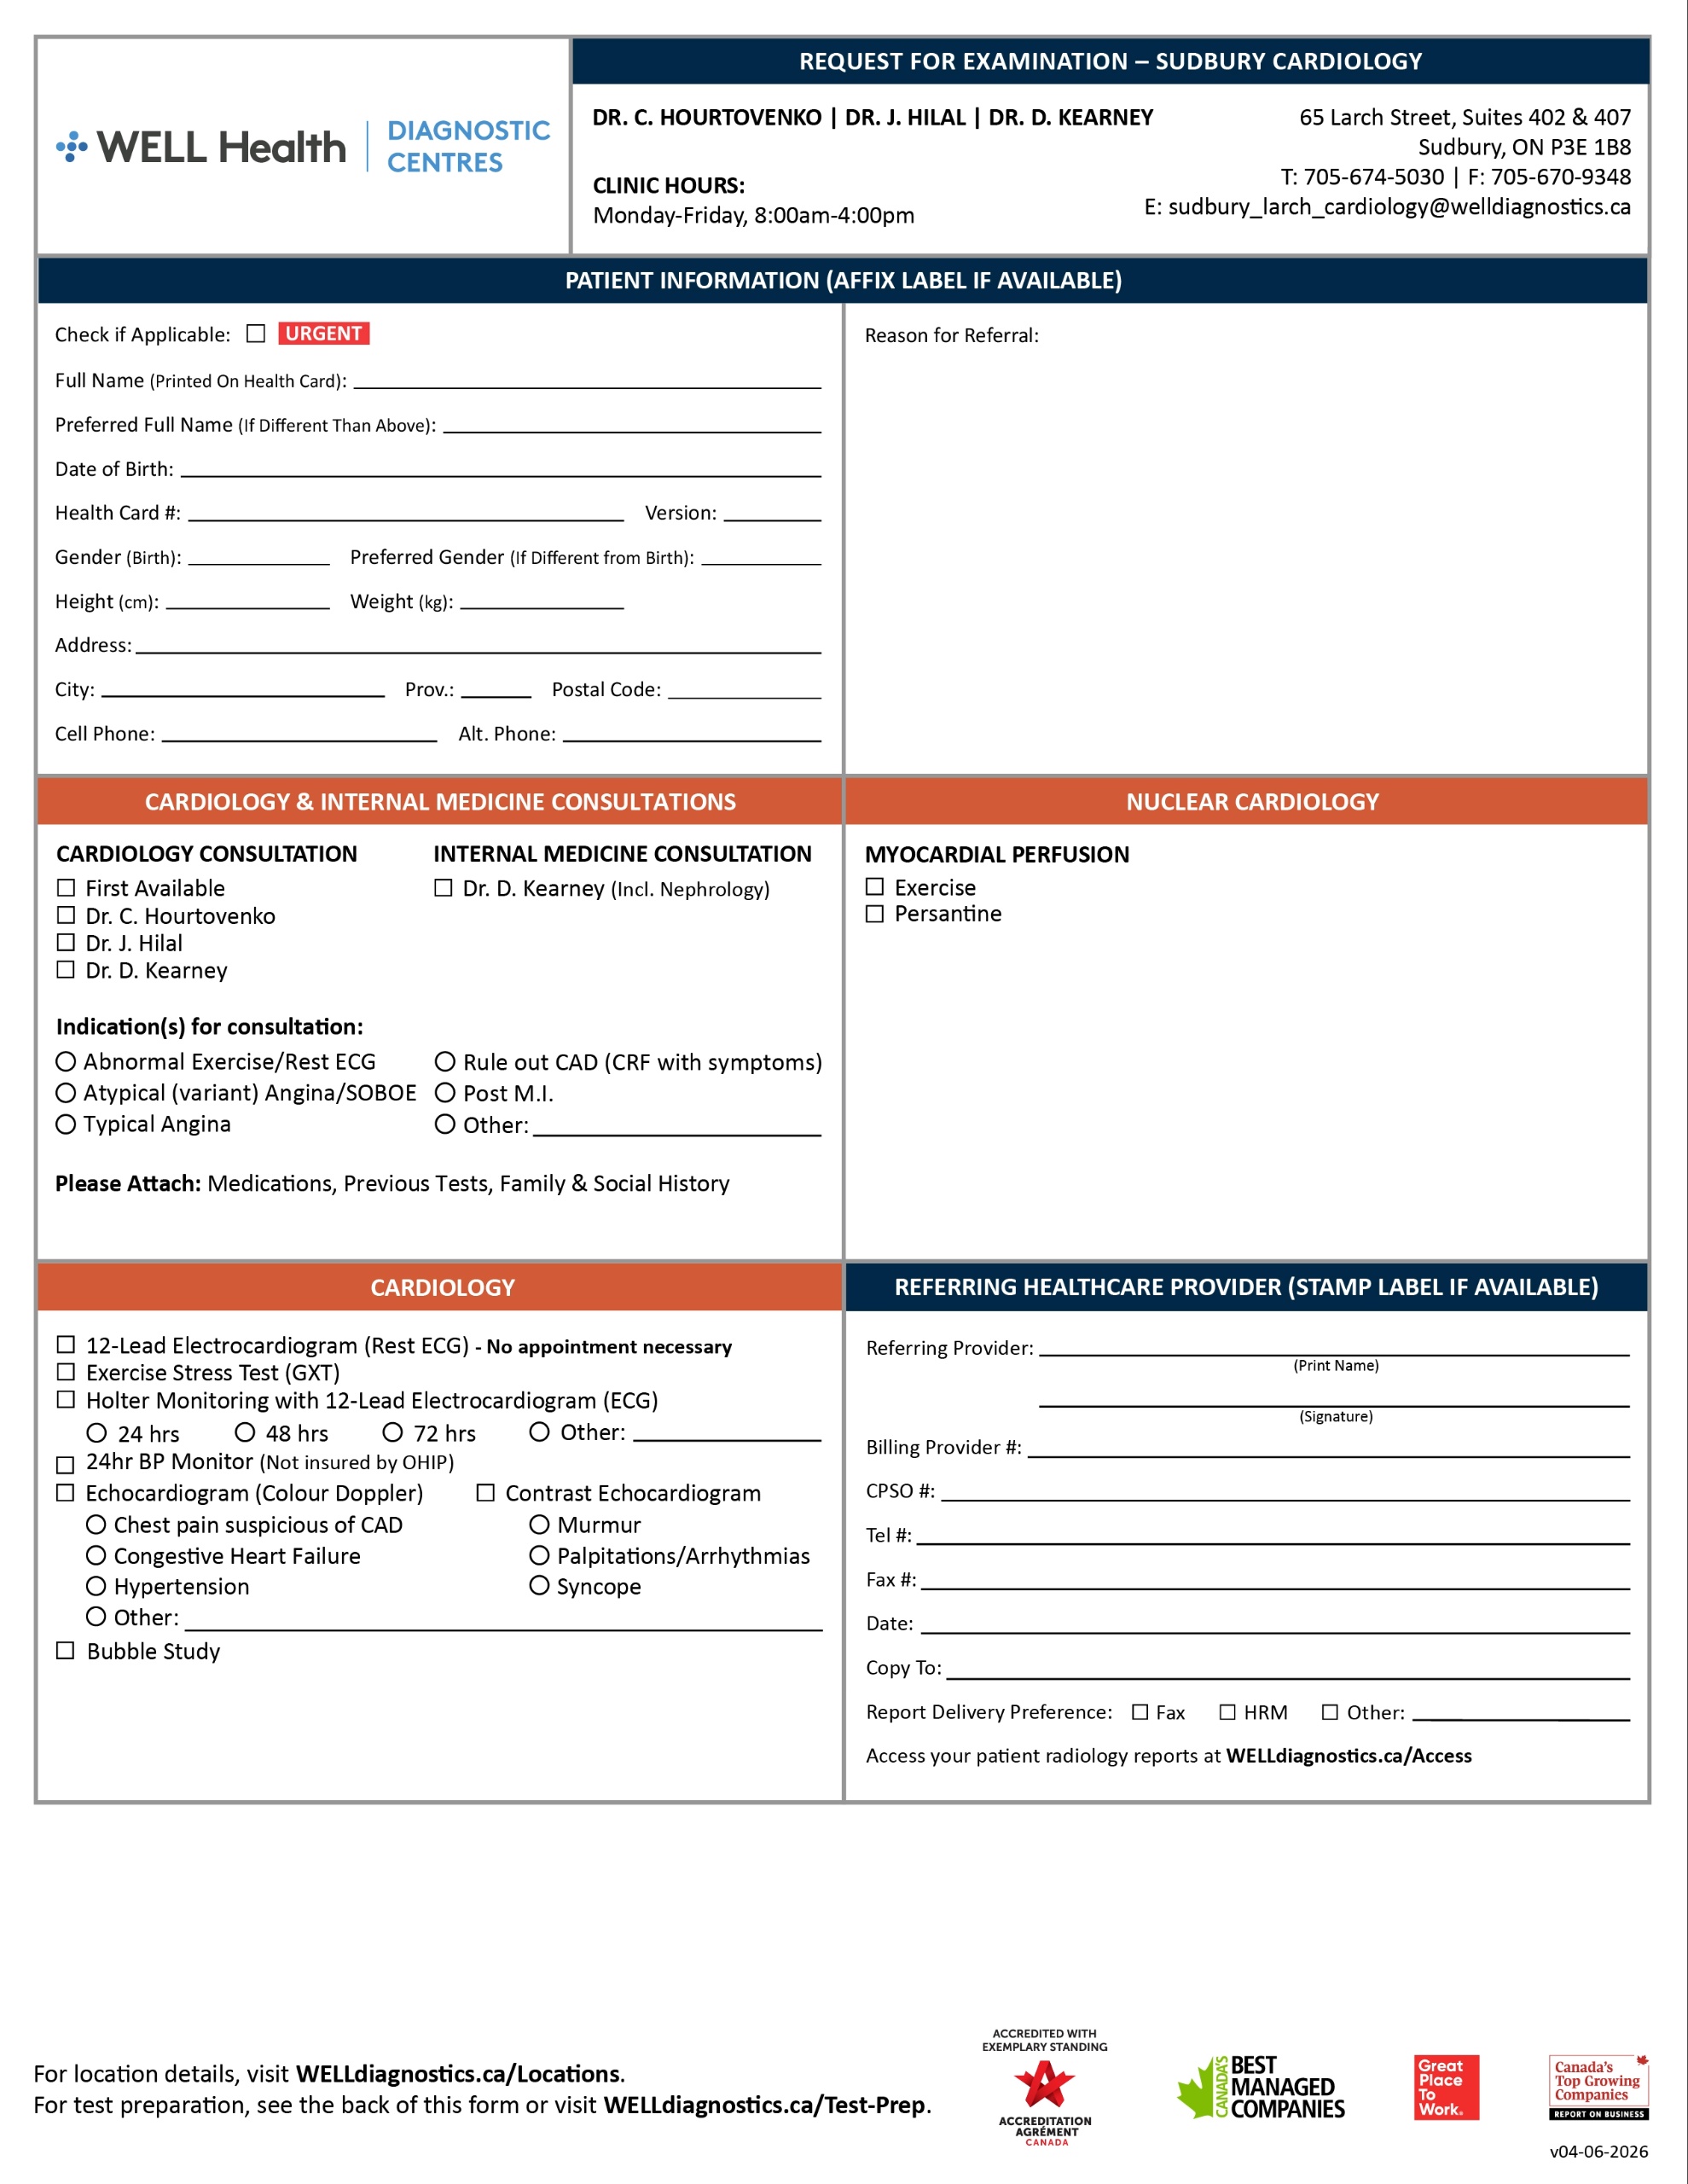
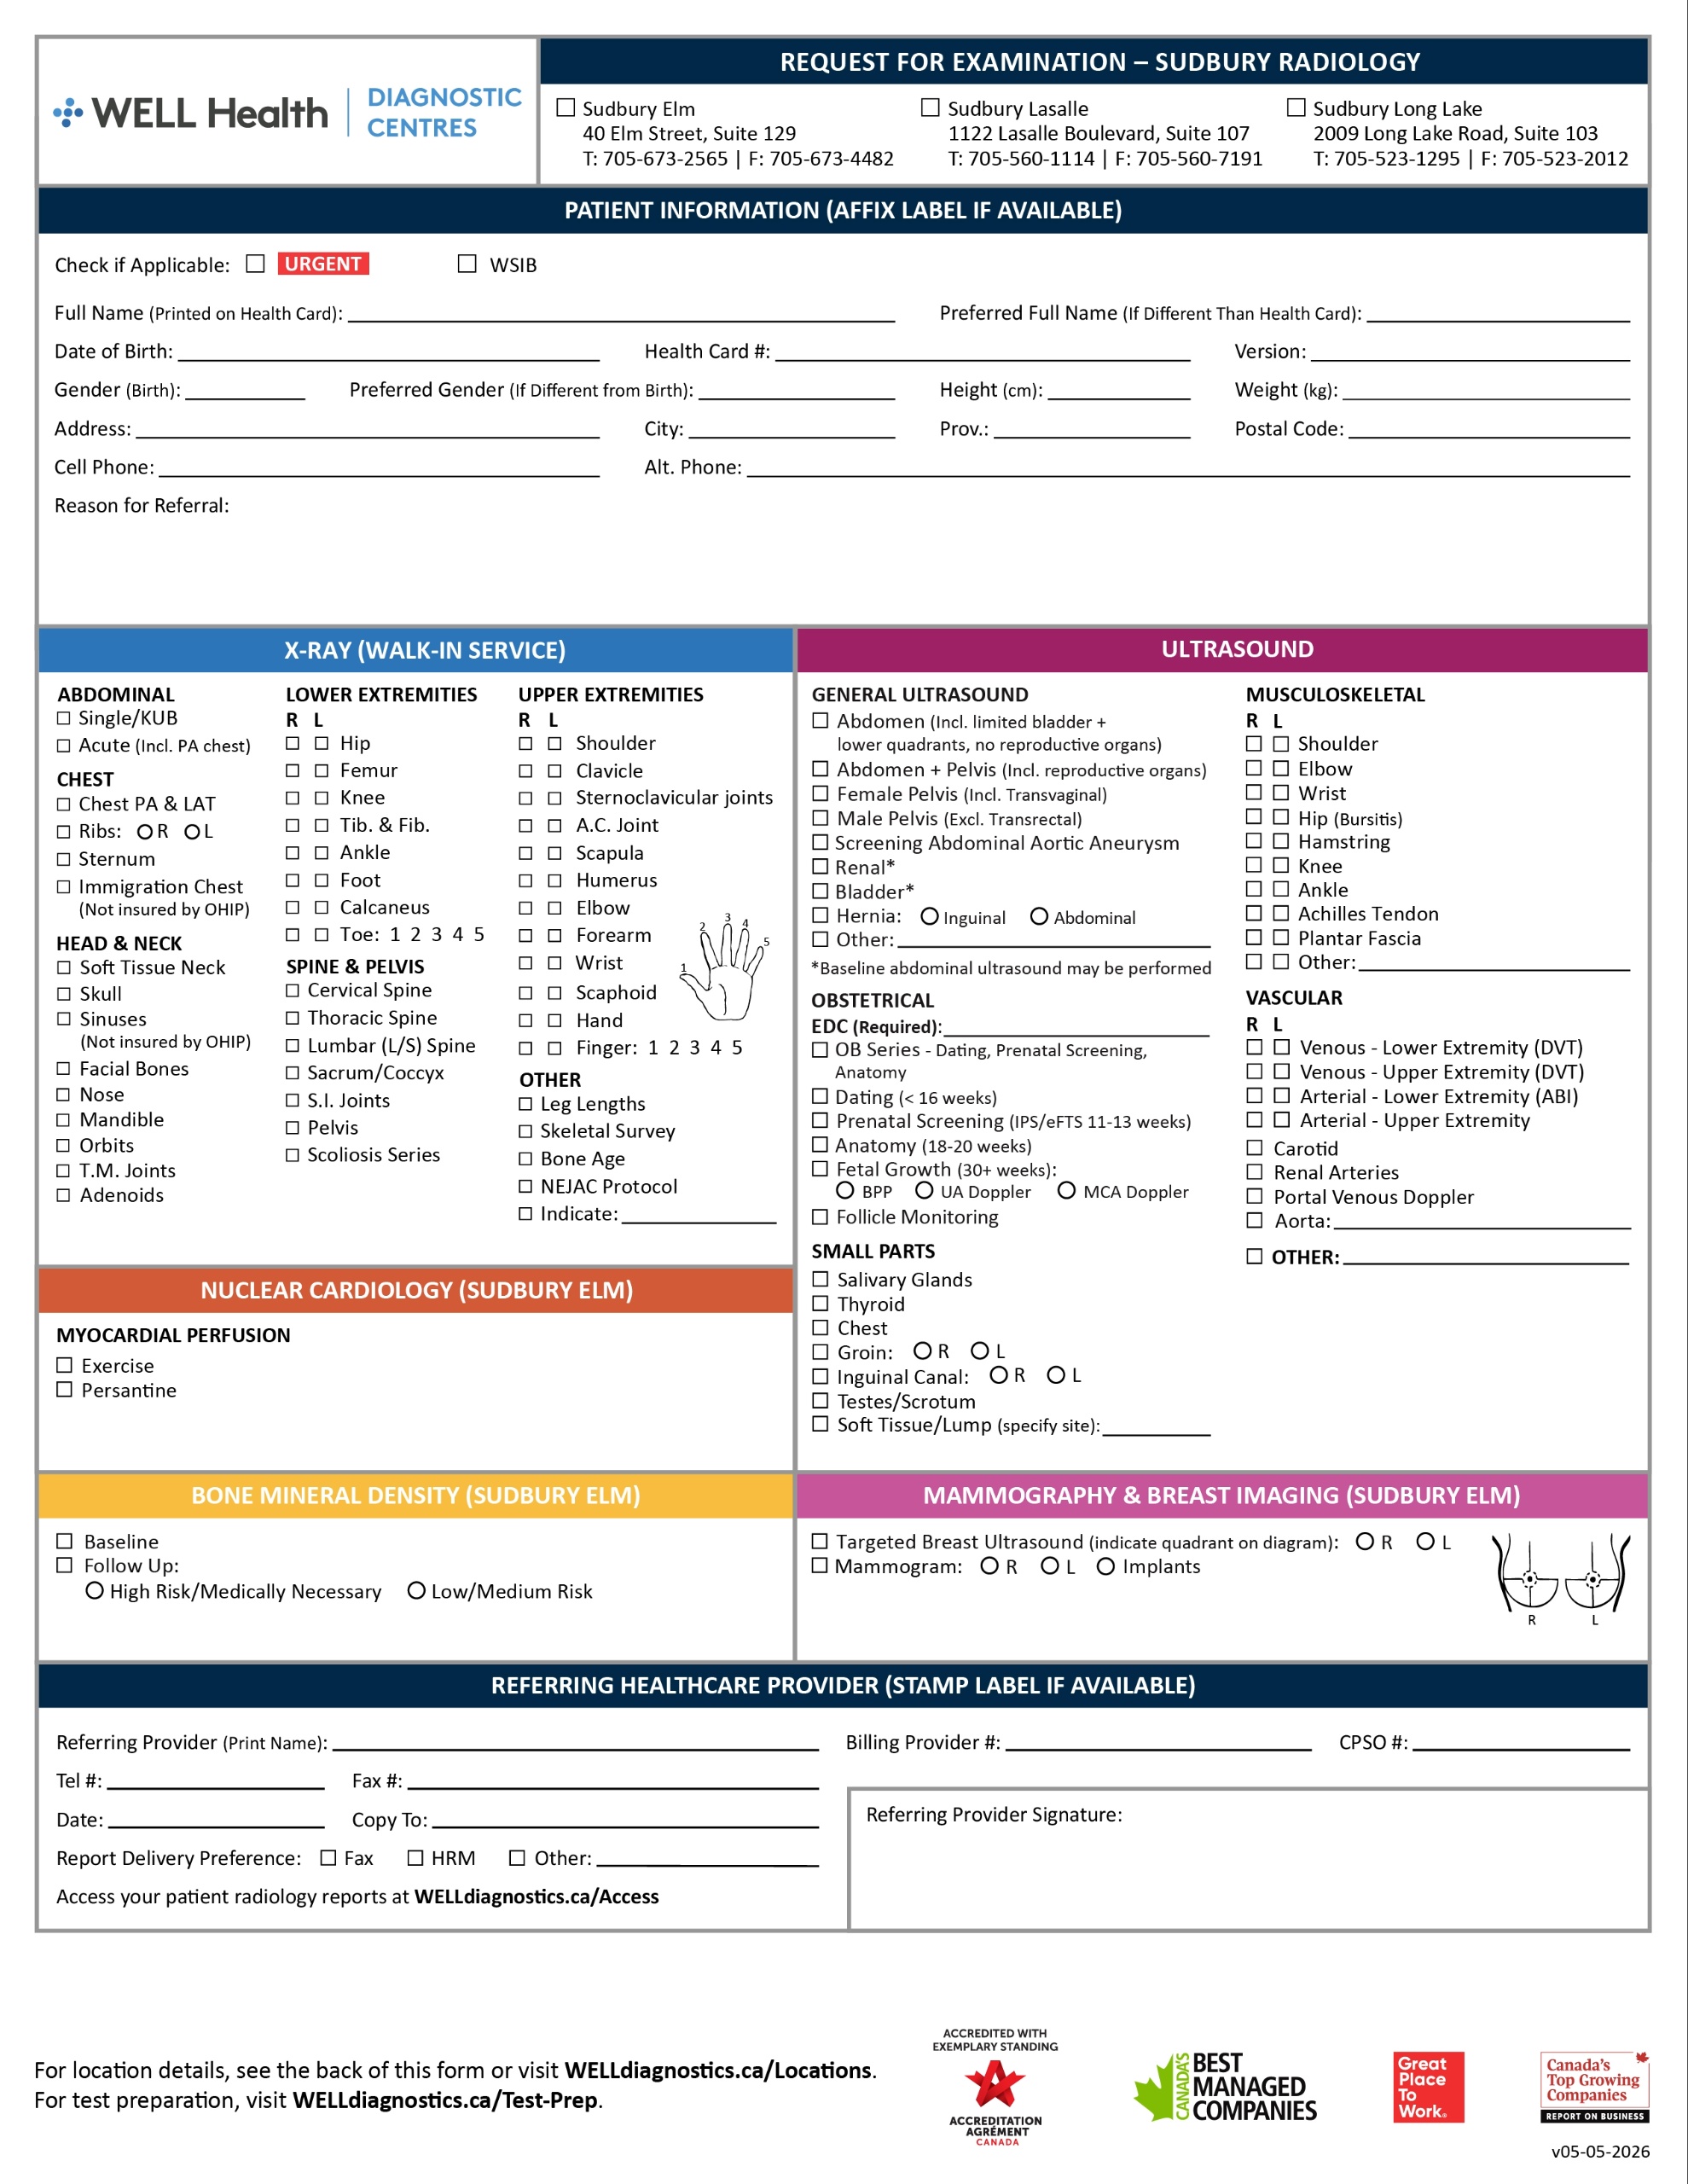
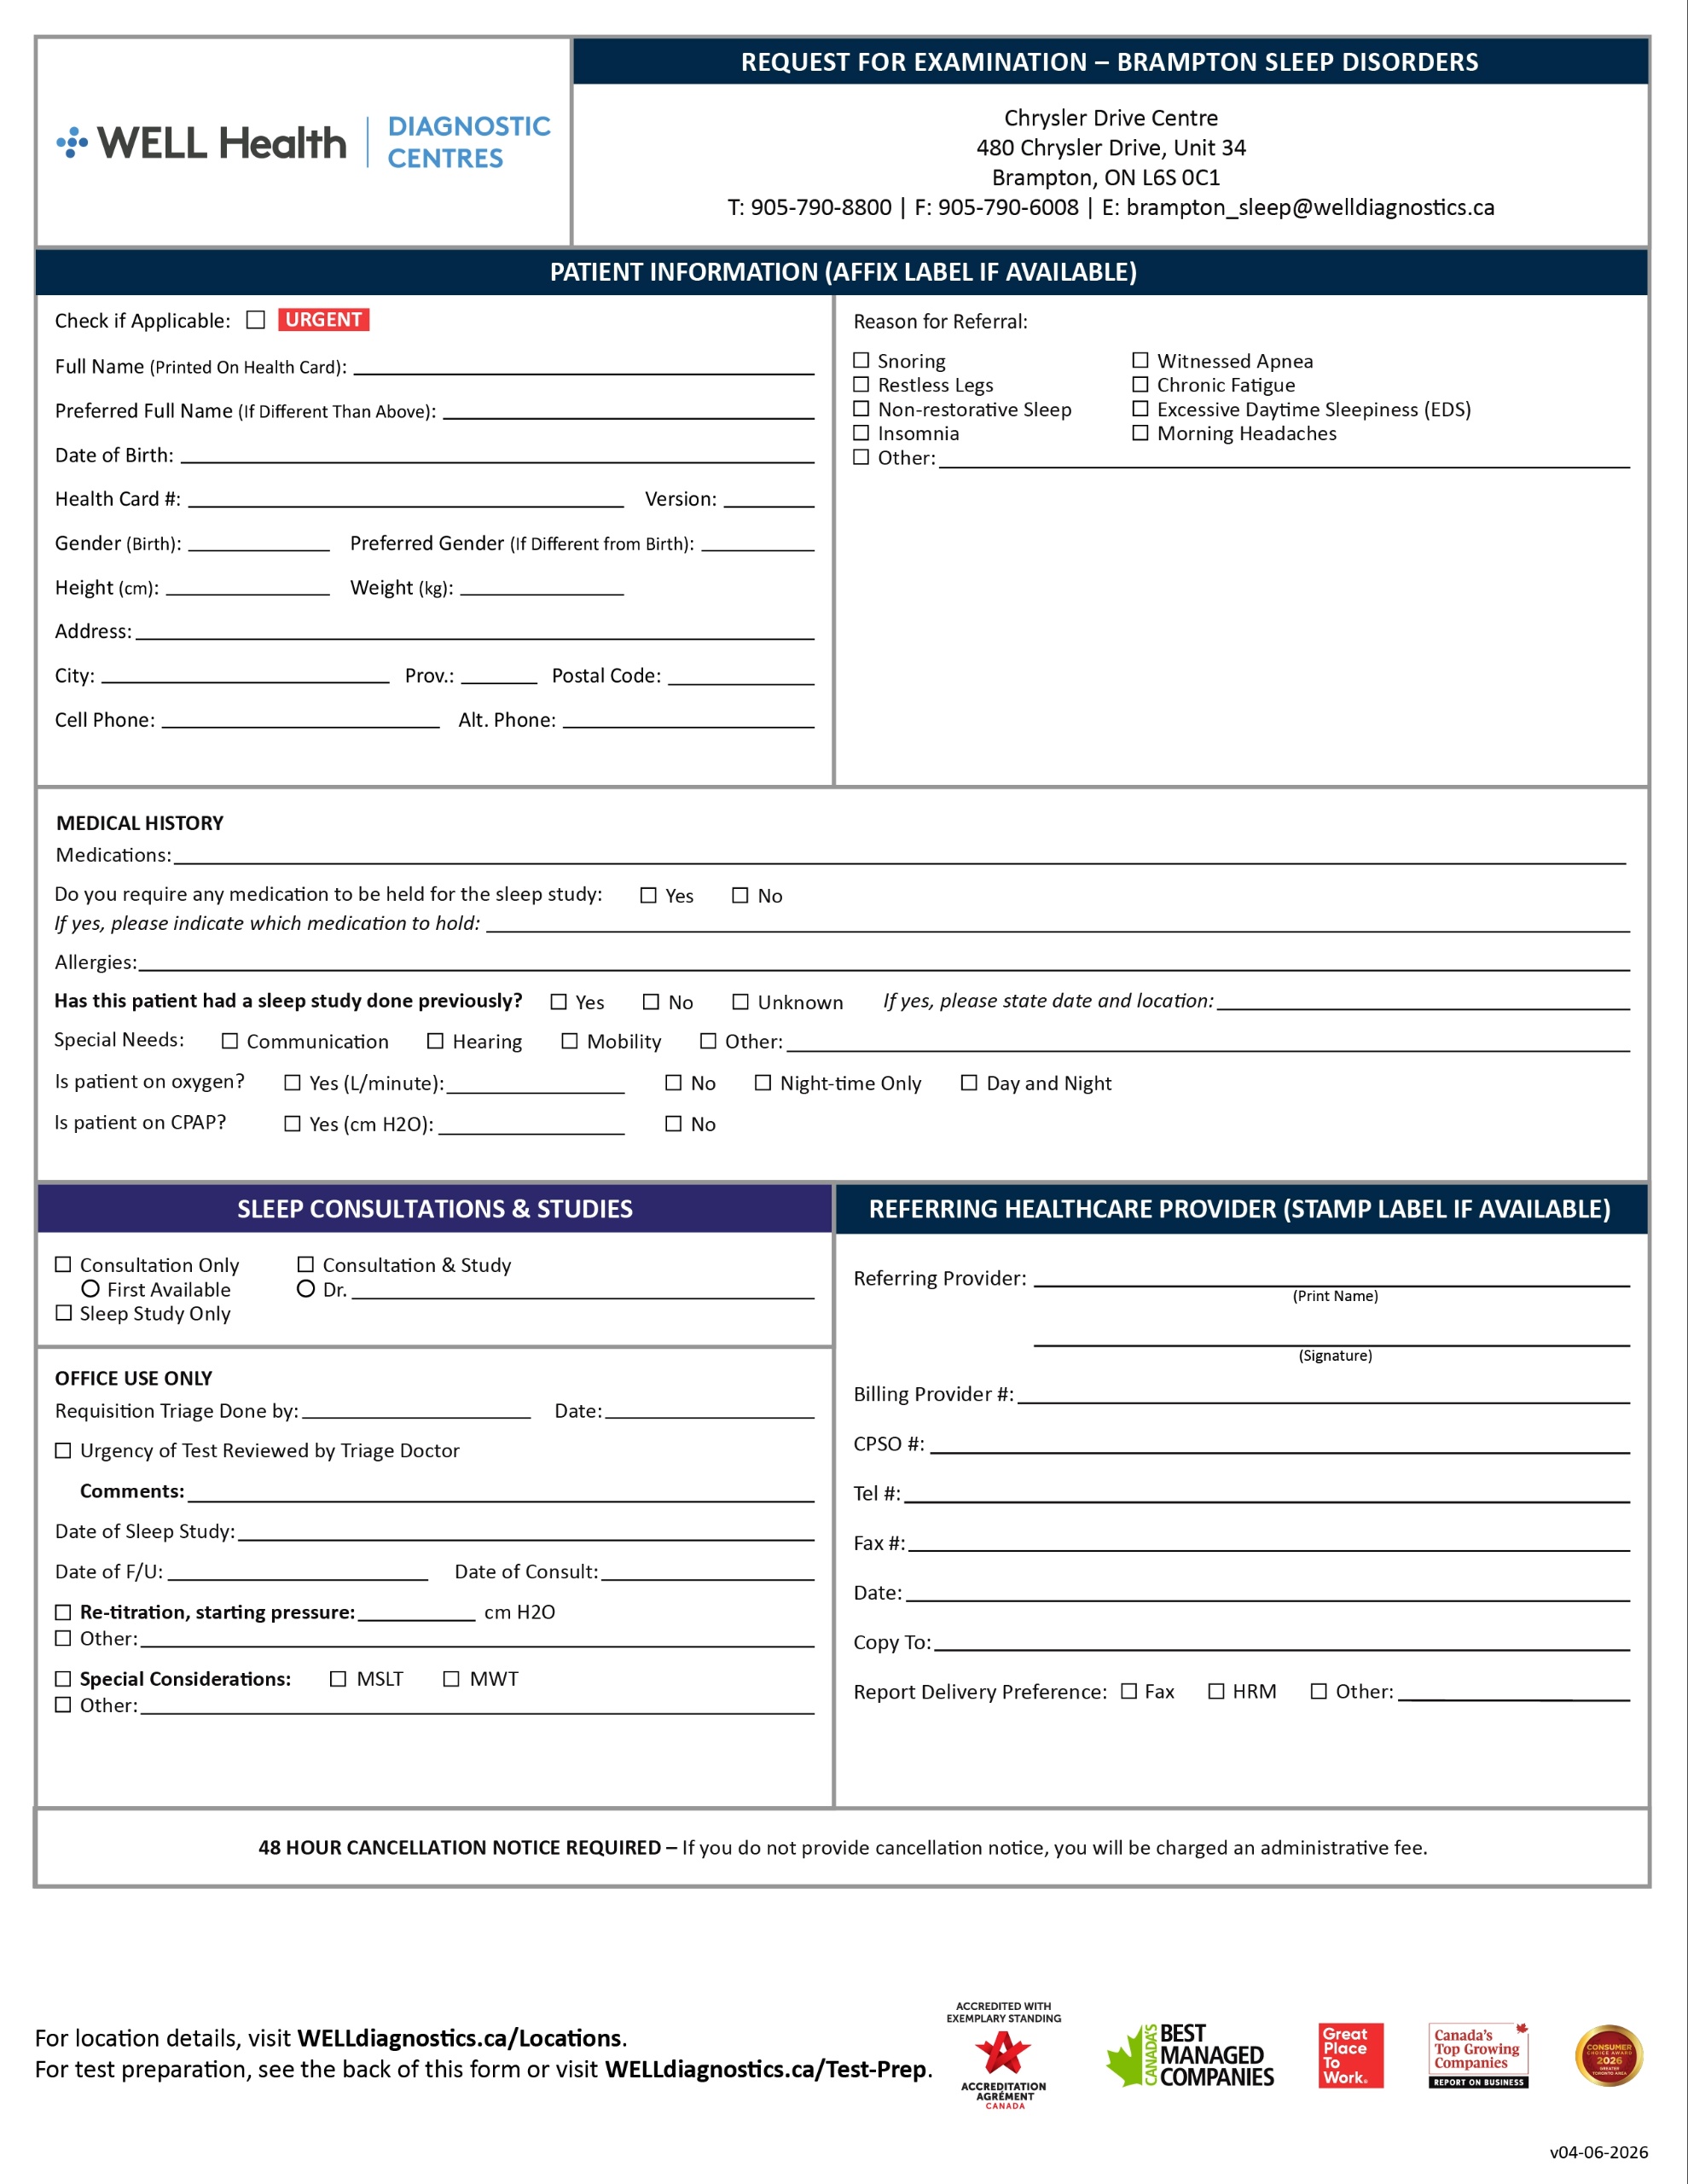
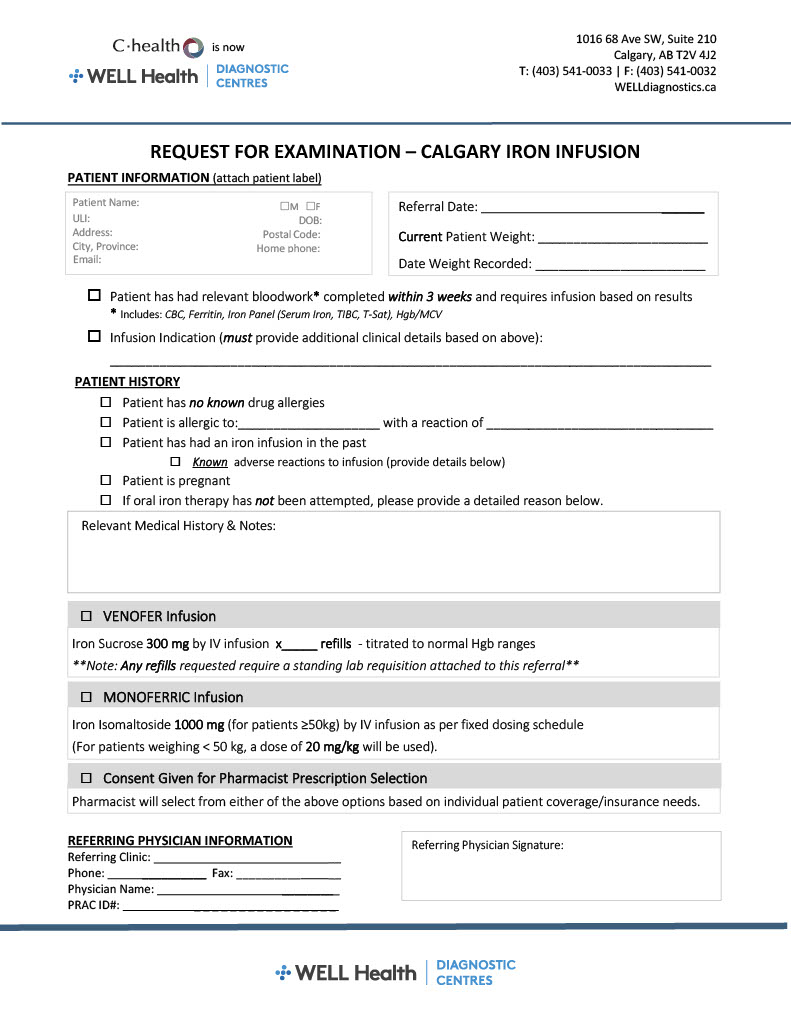
1. Fax or E-mail Requisition

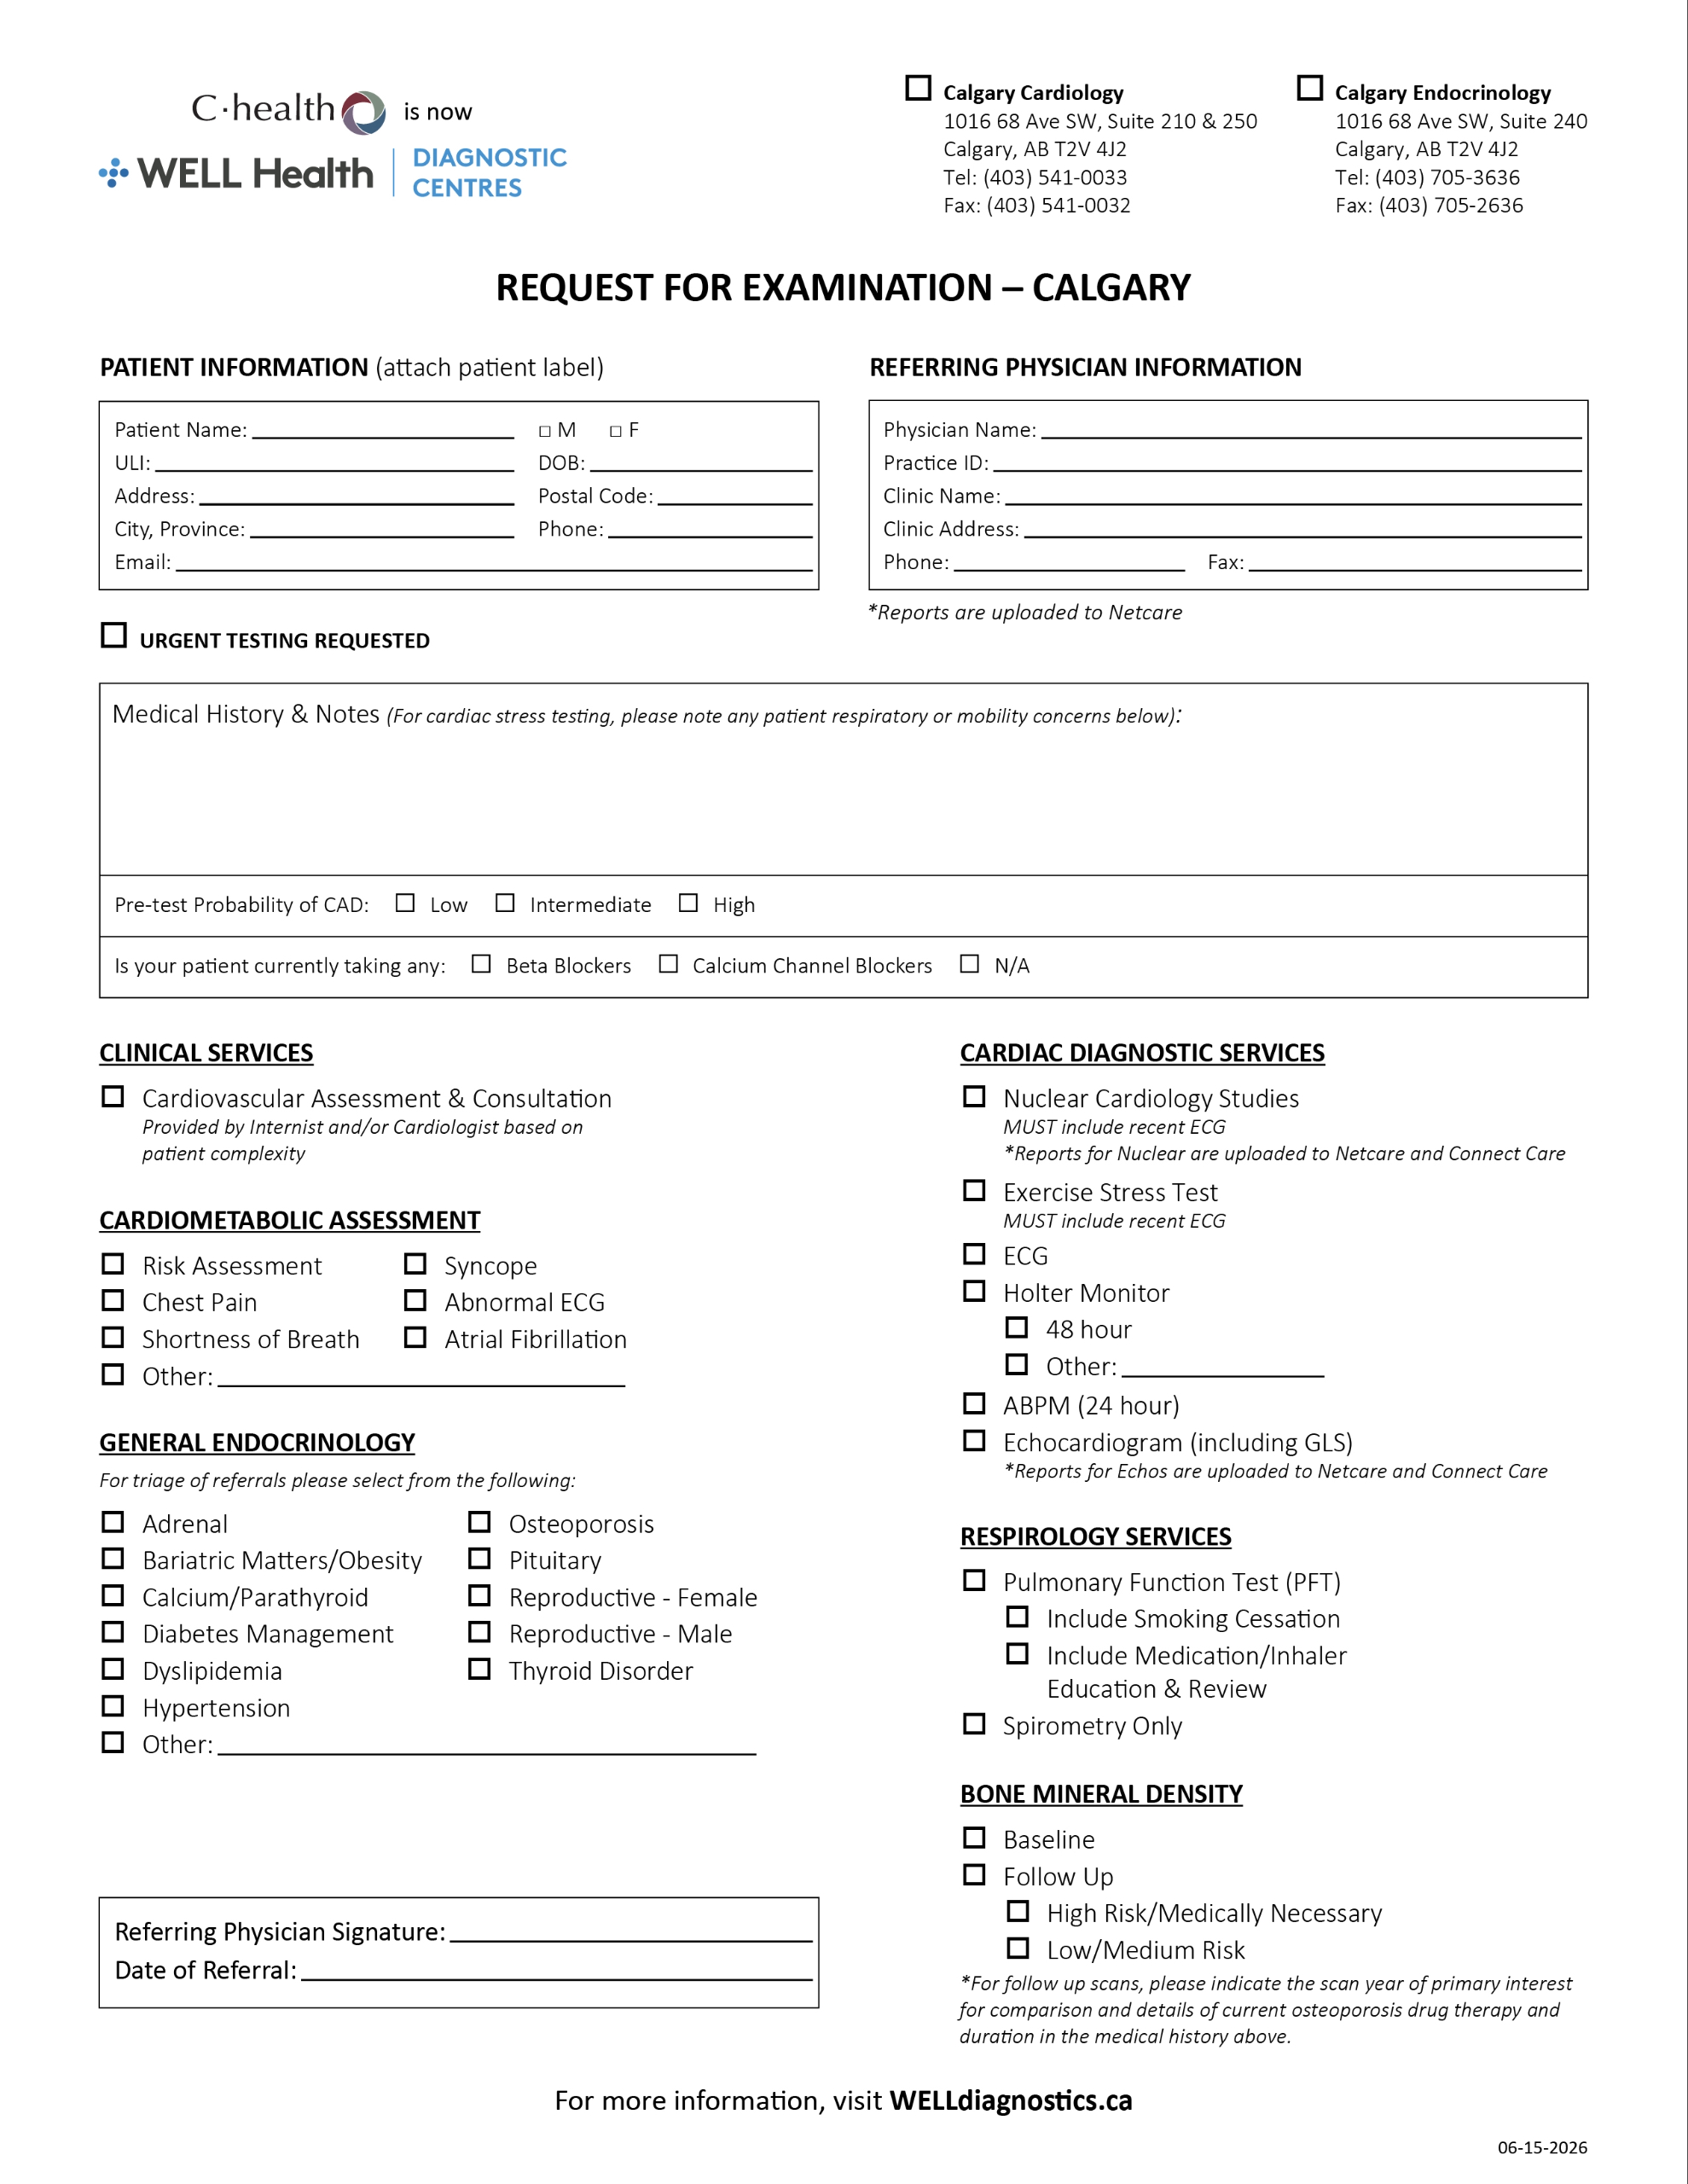
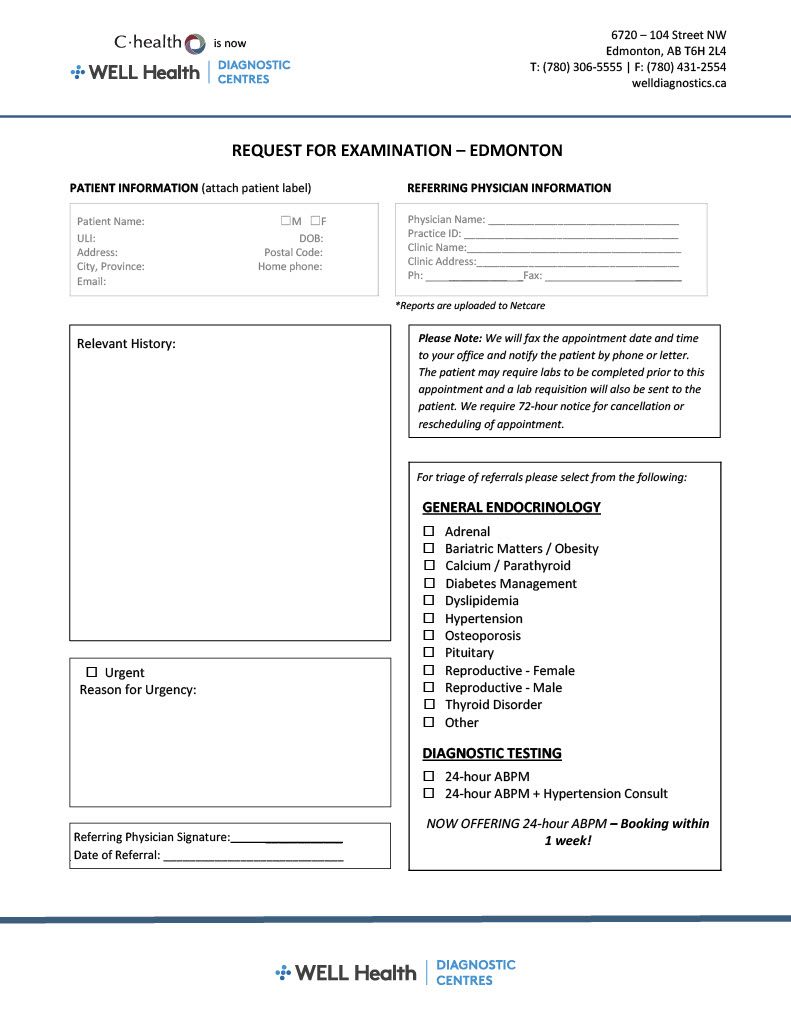
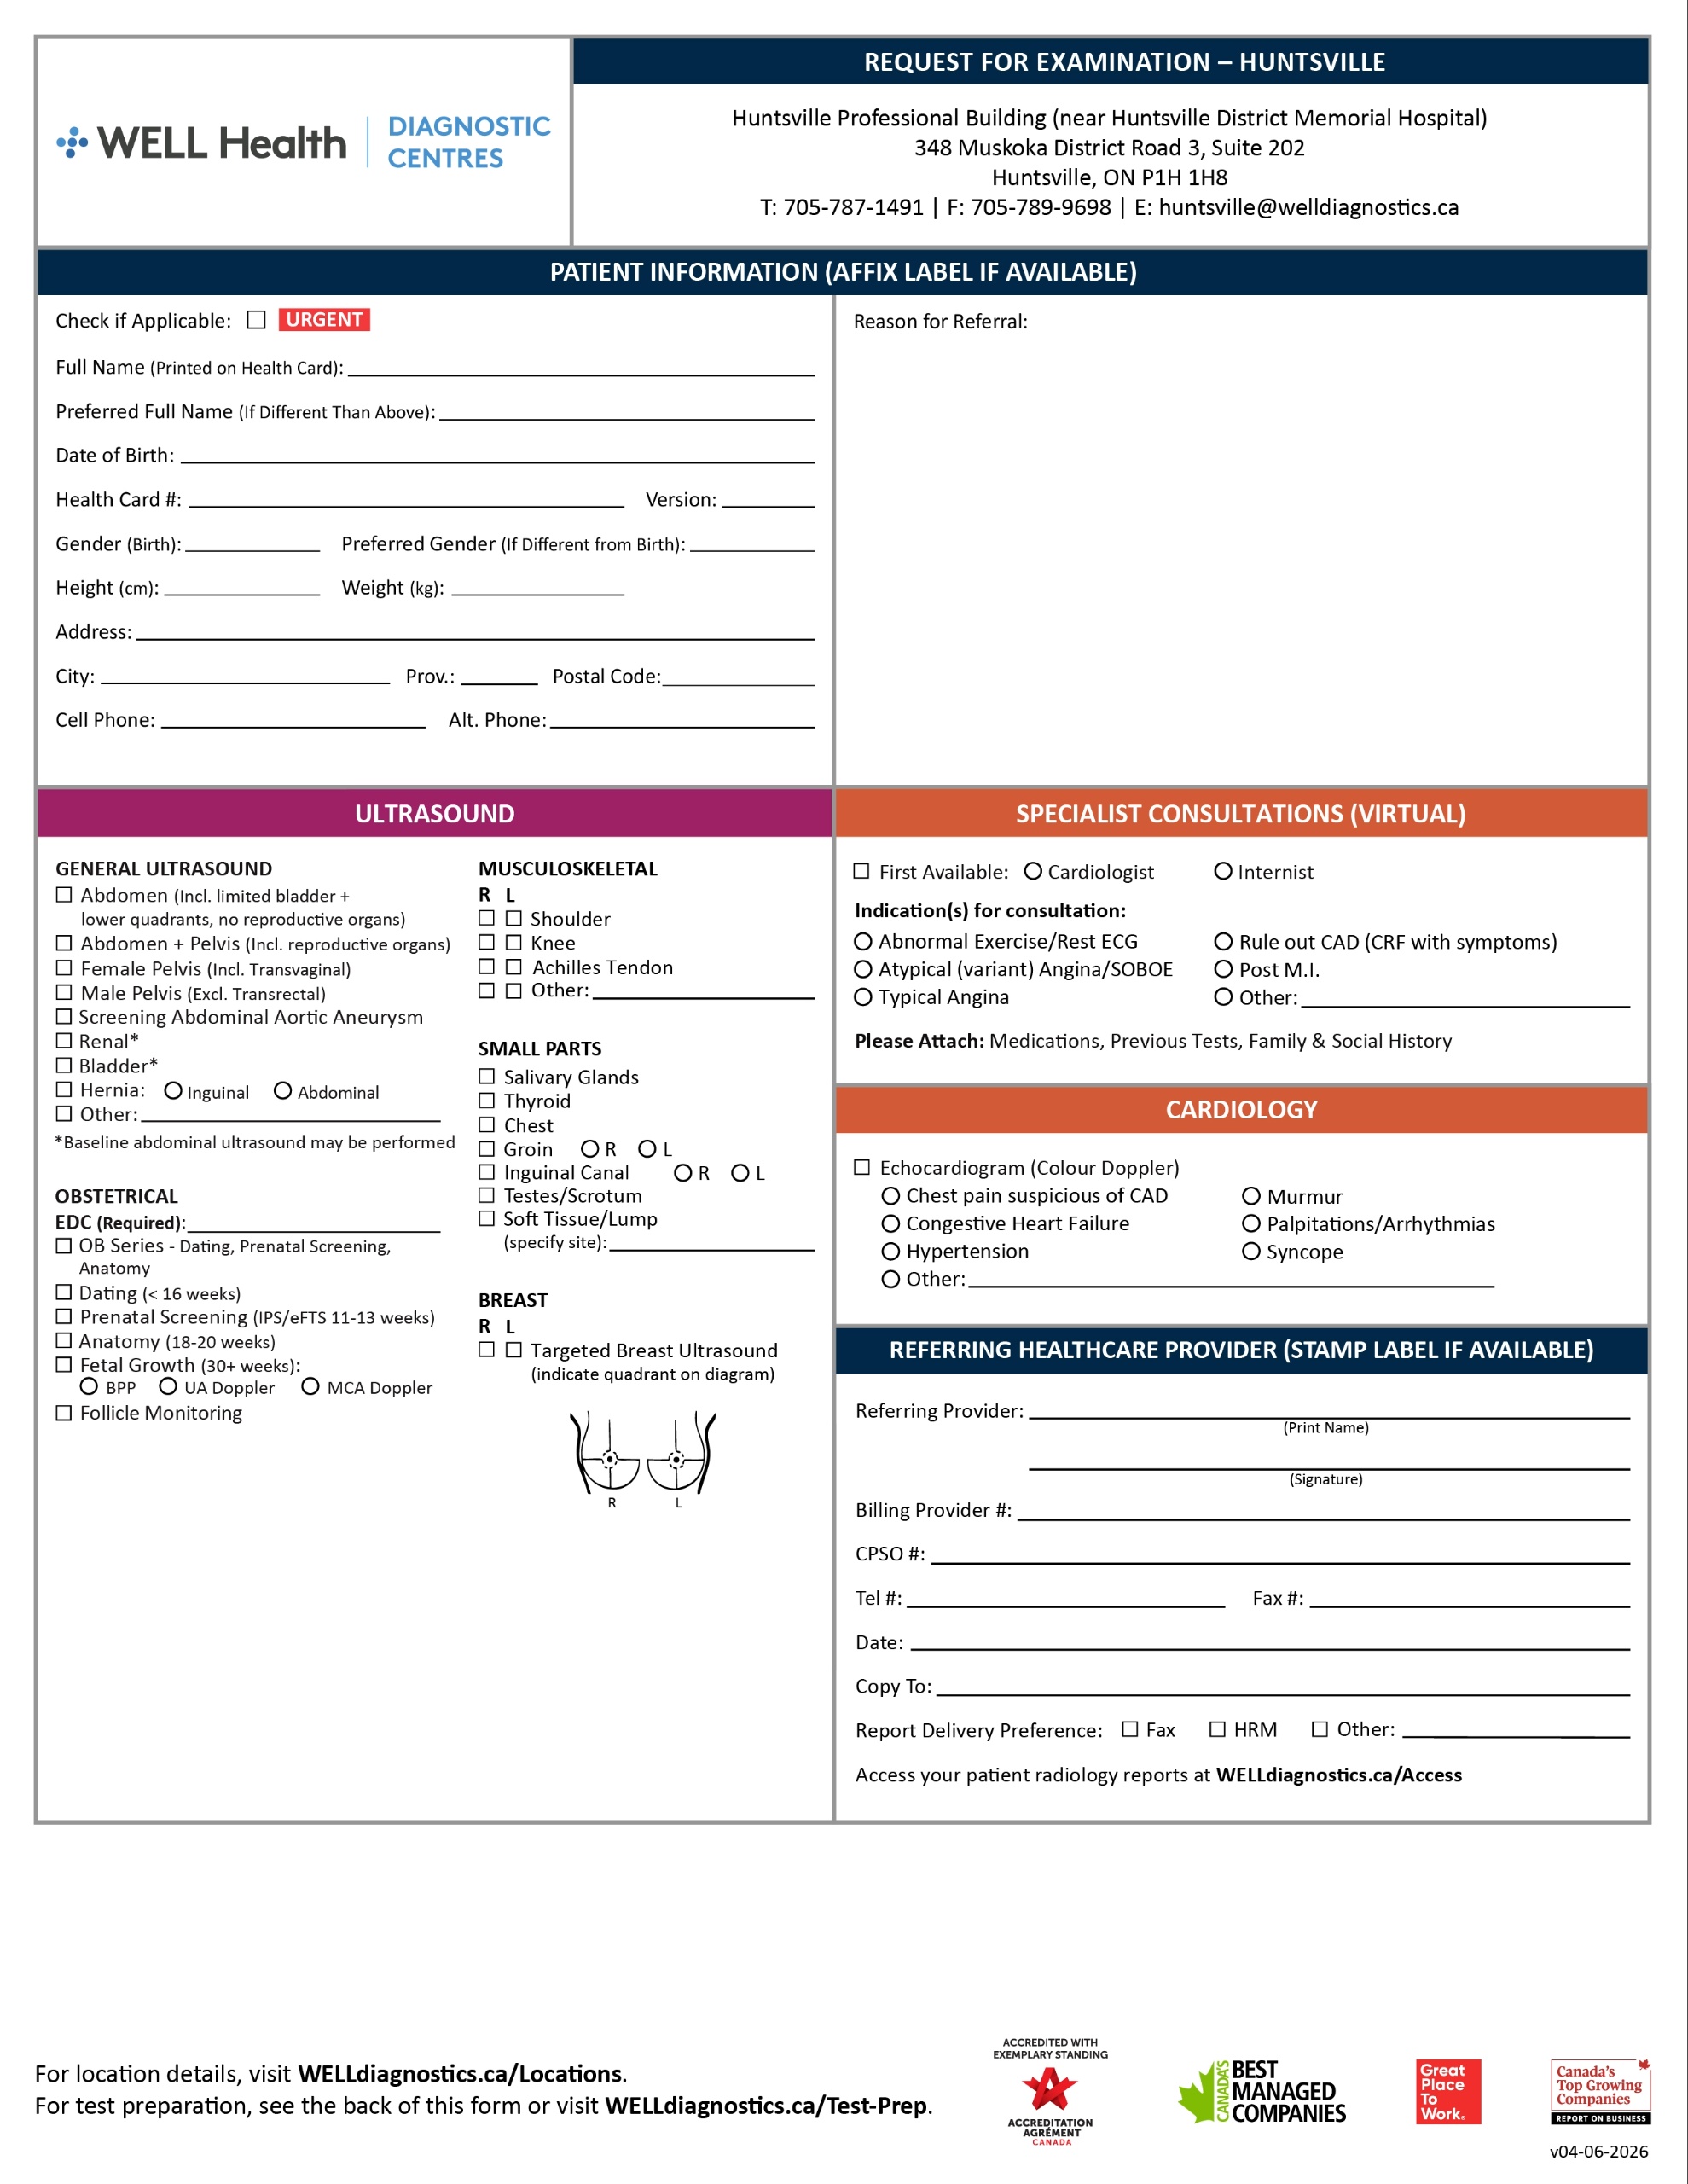
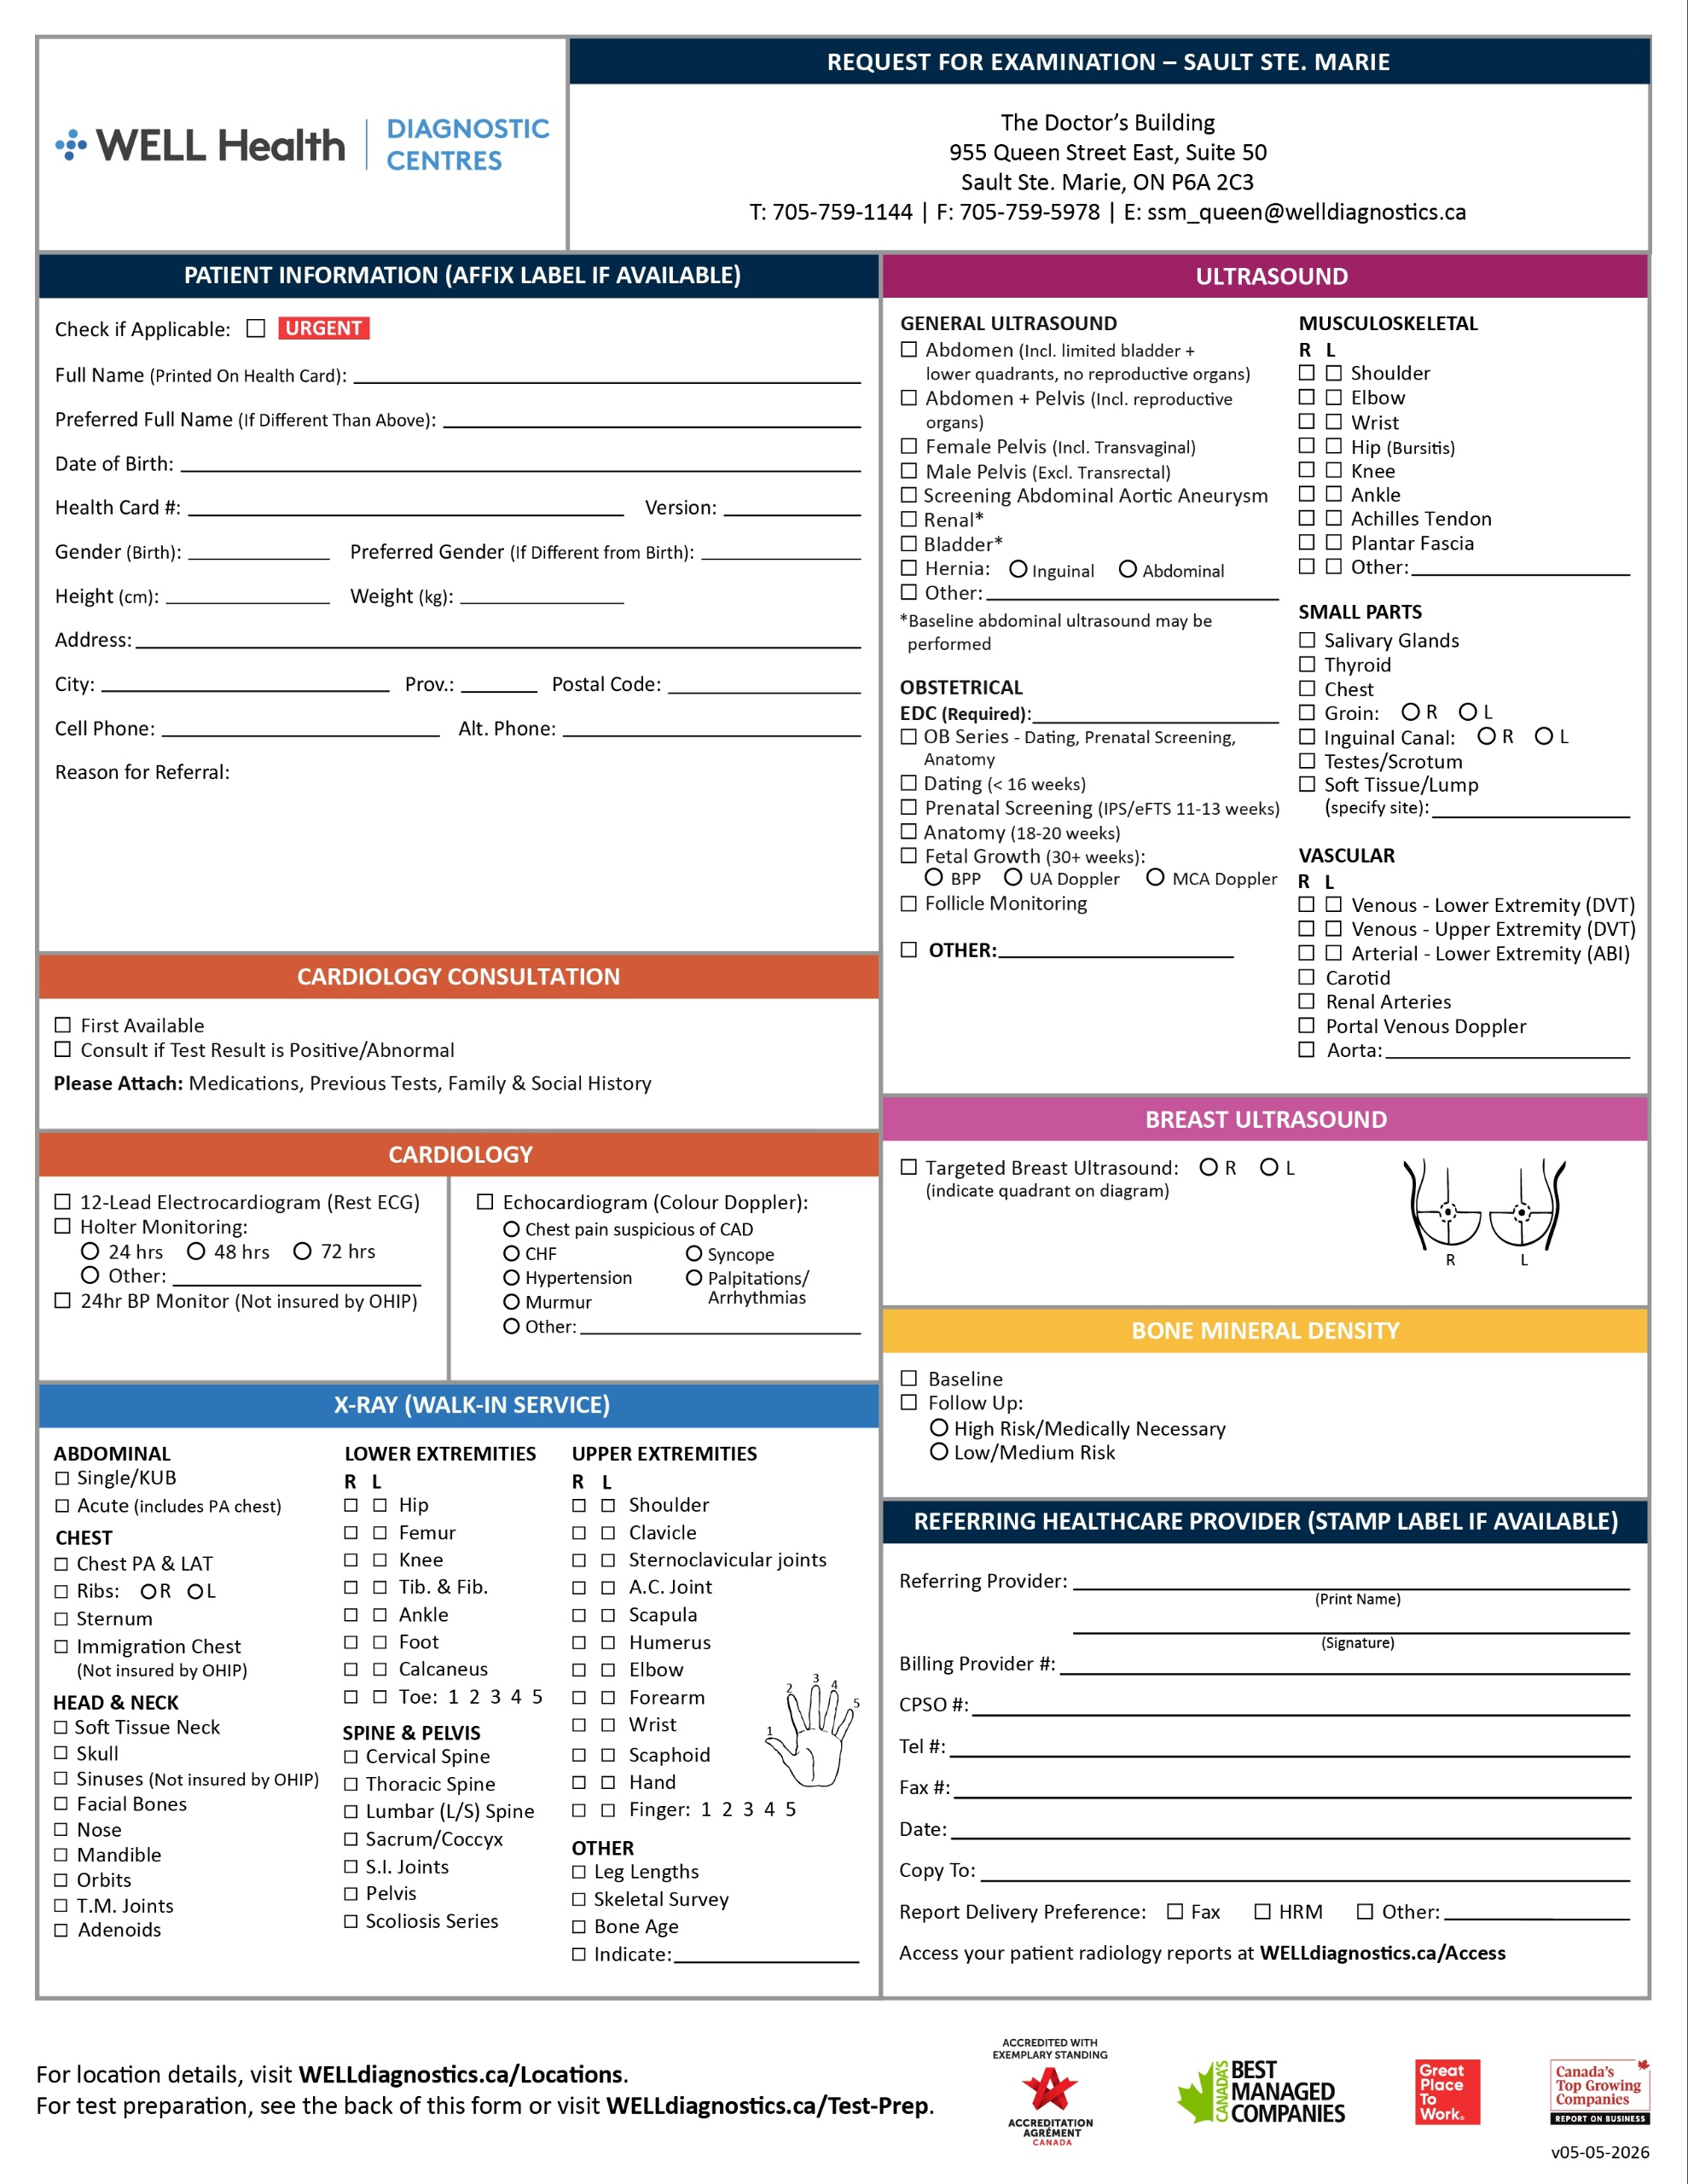
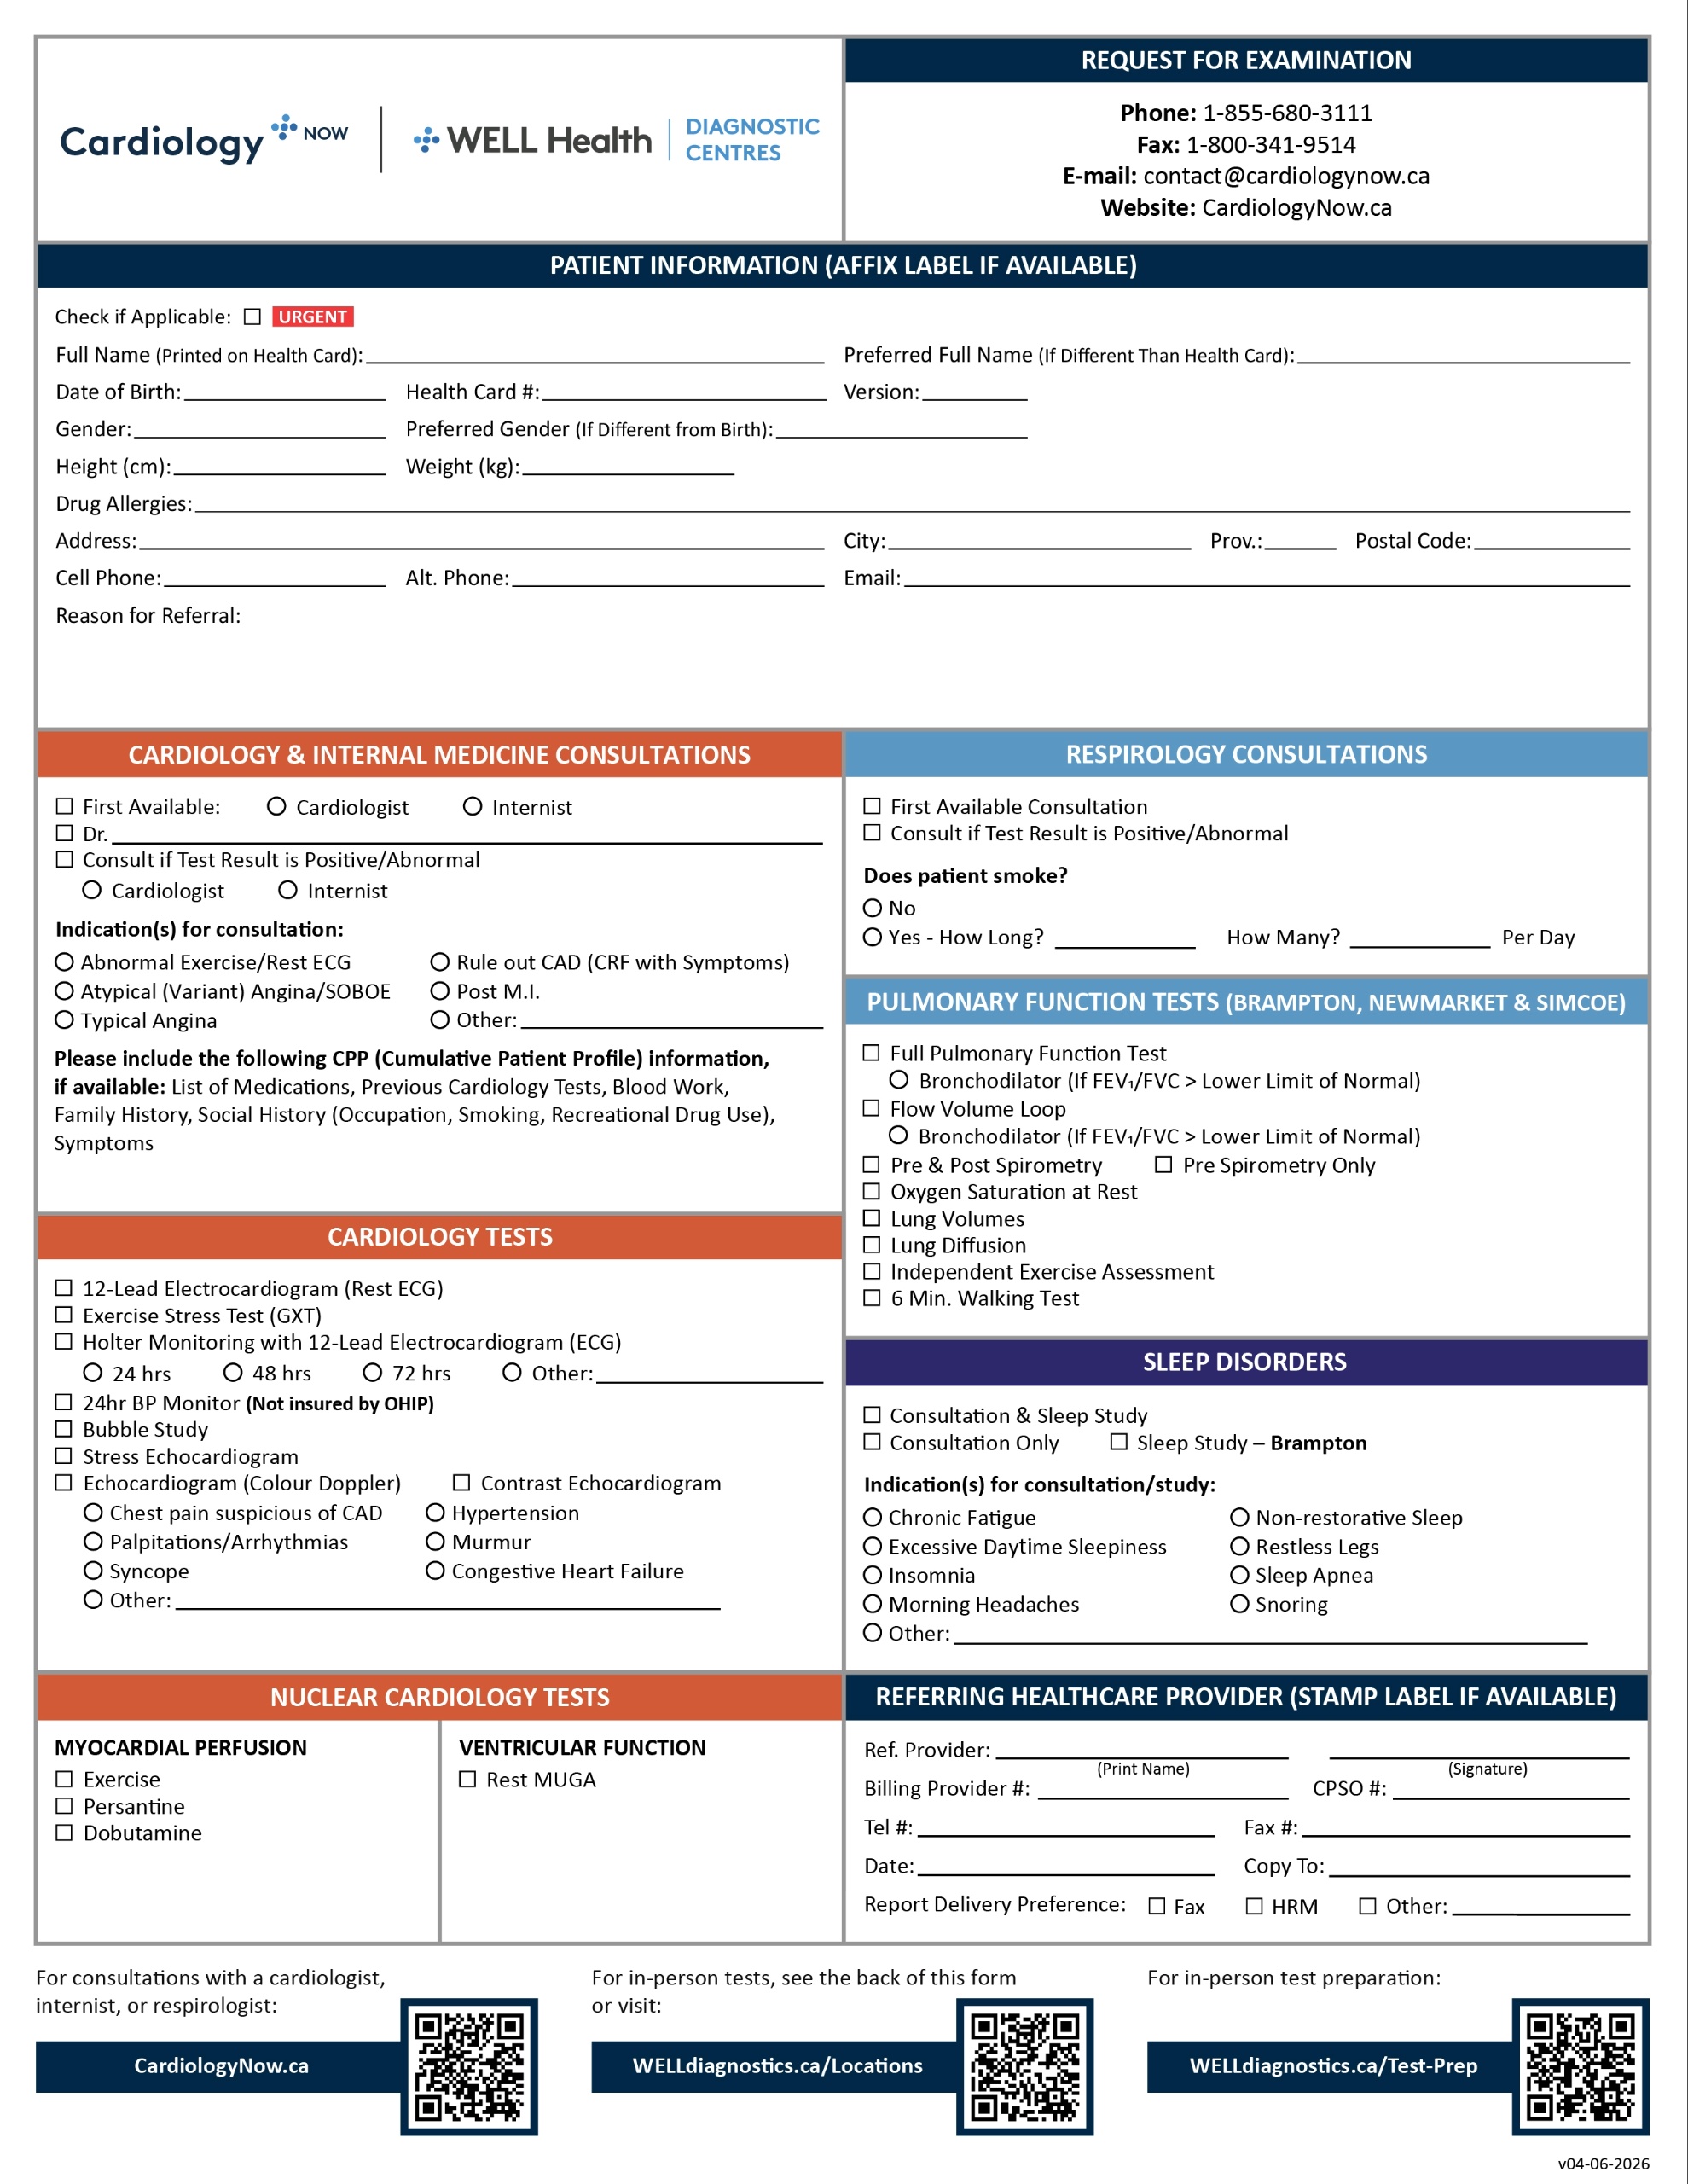
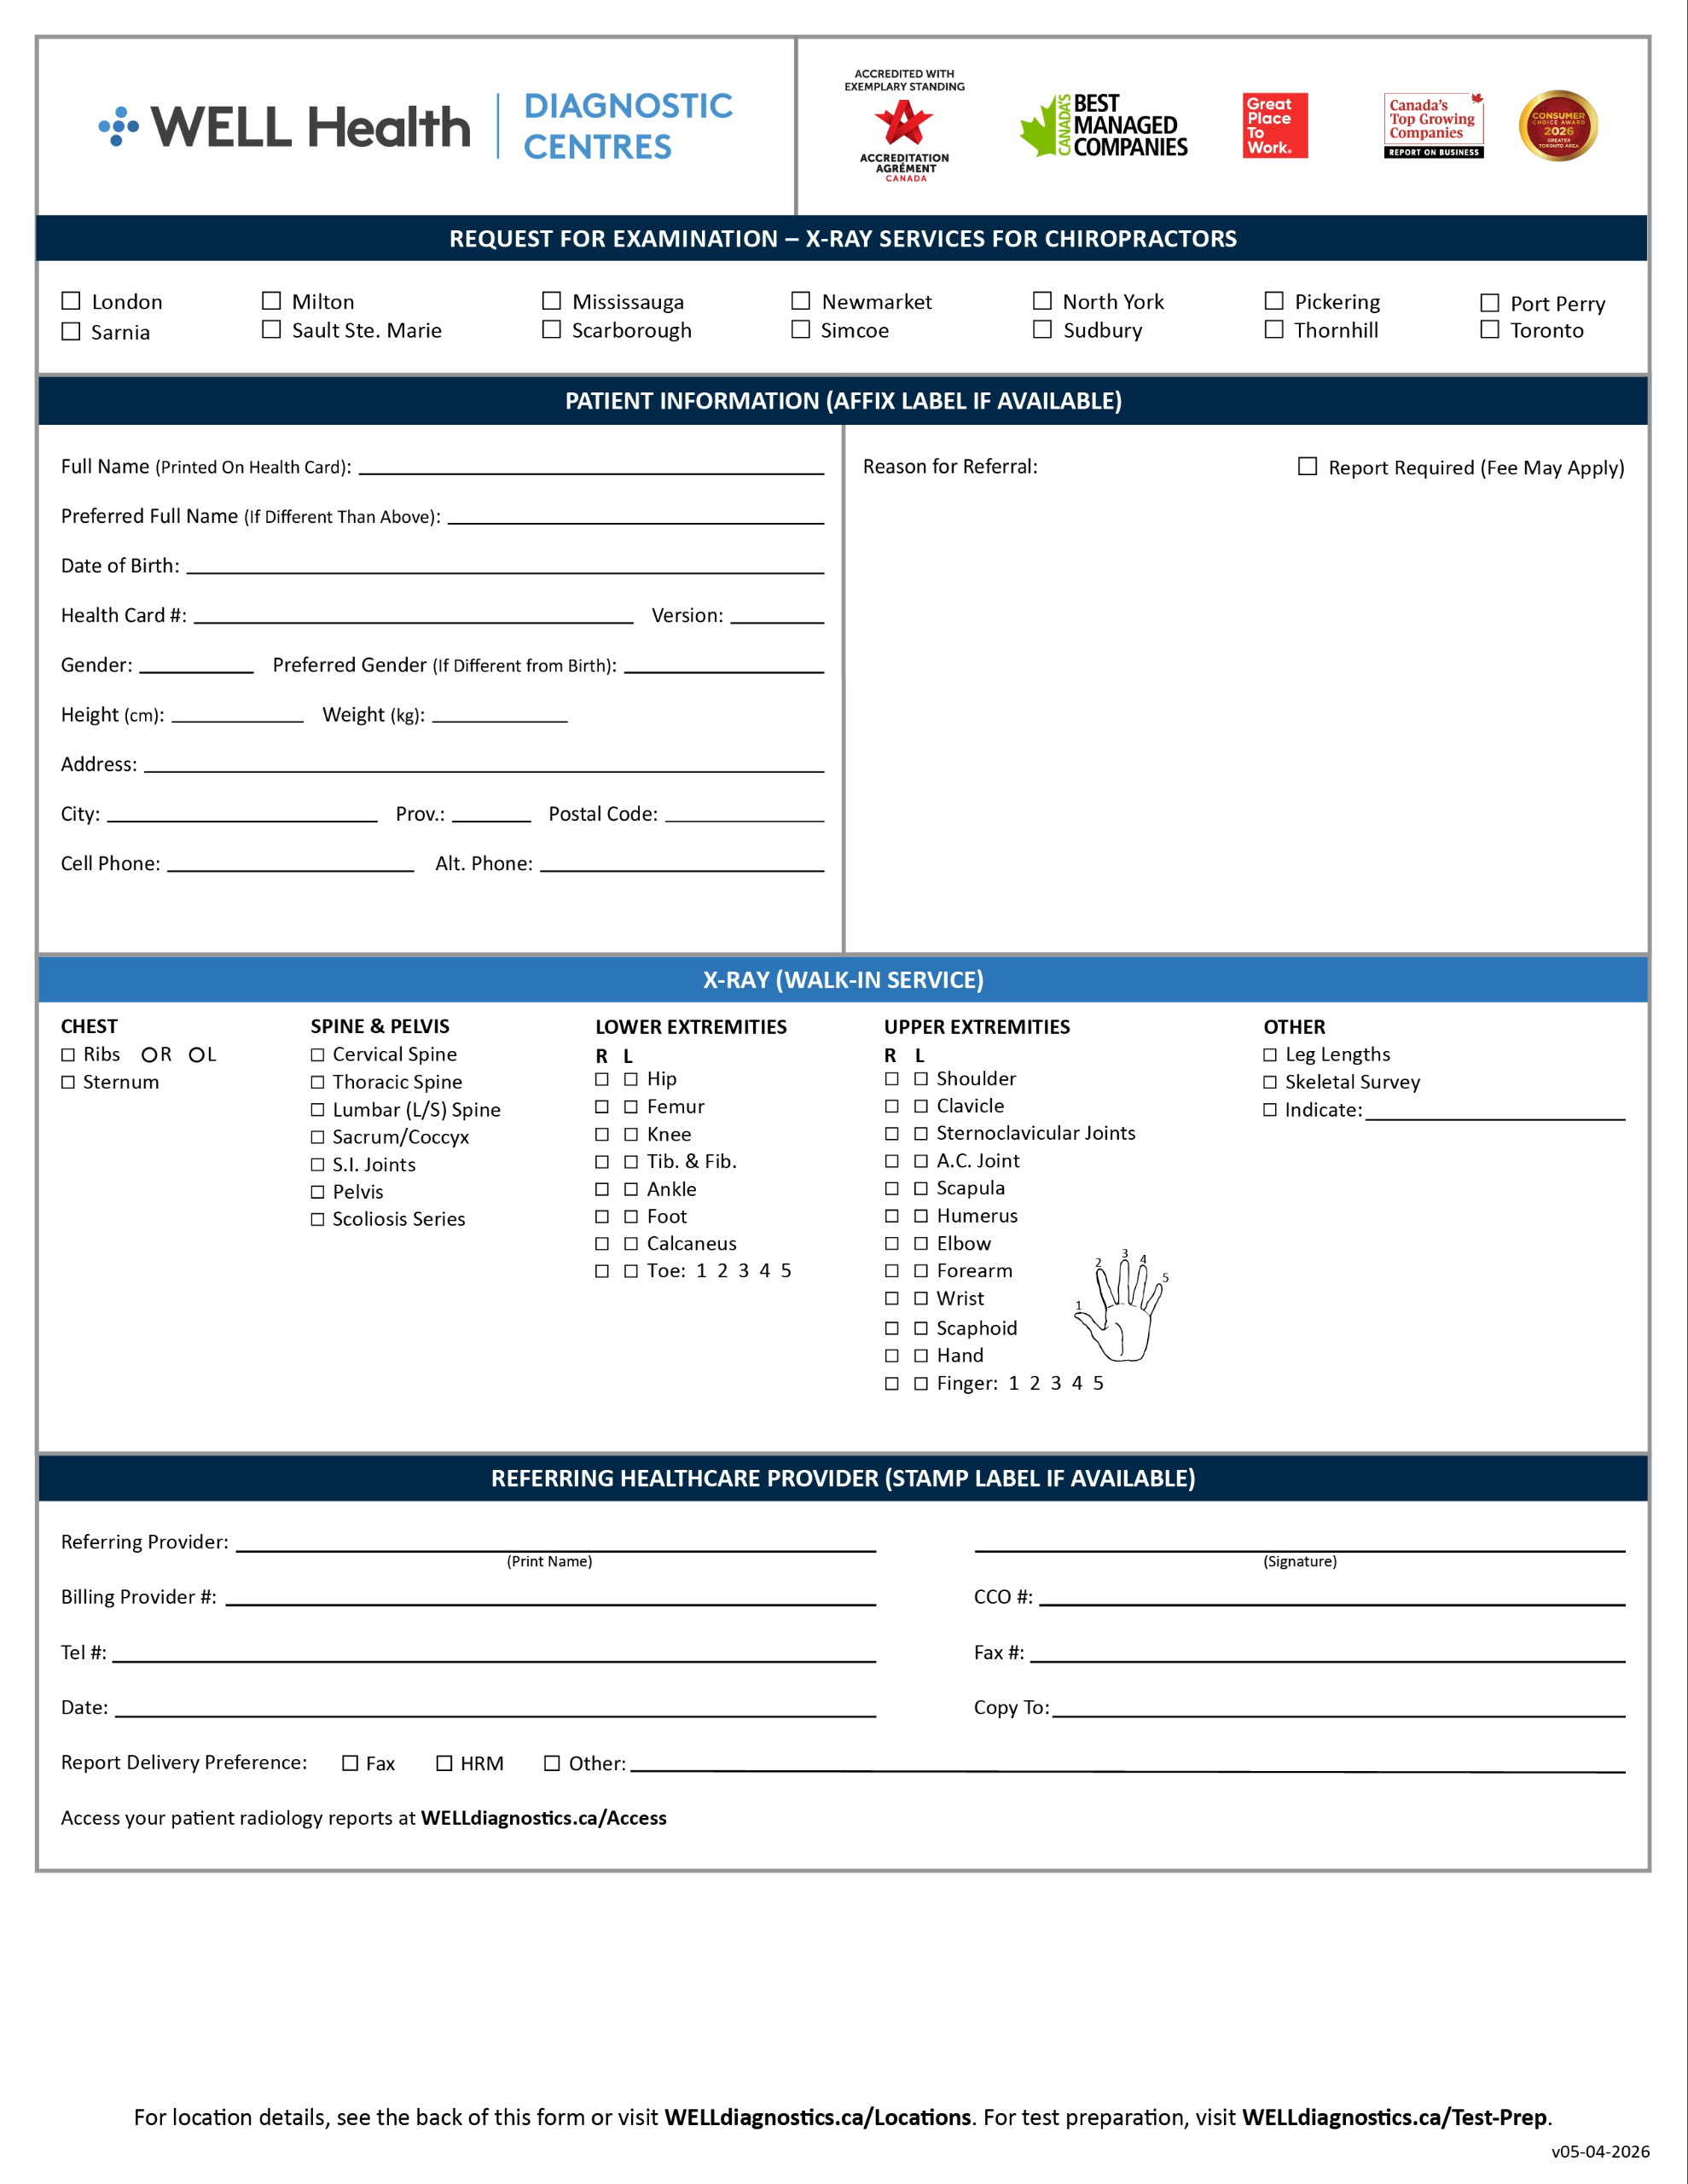
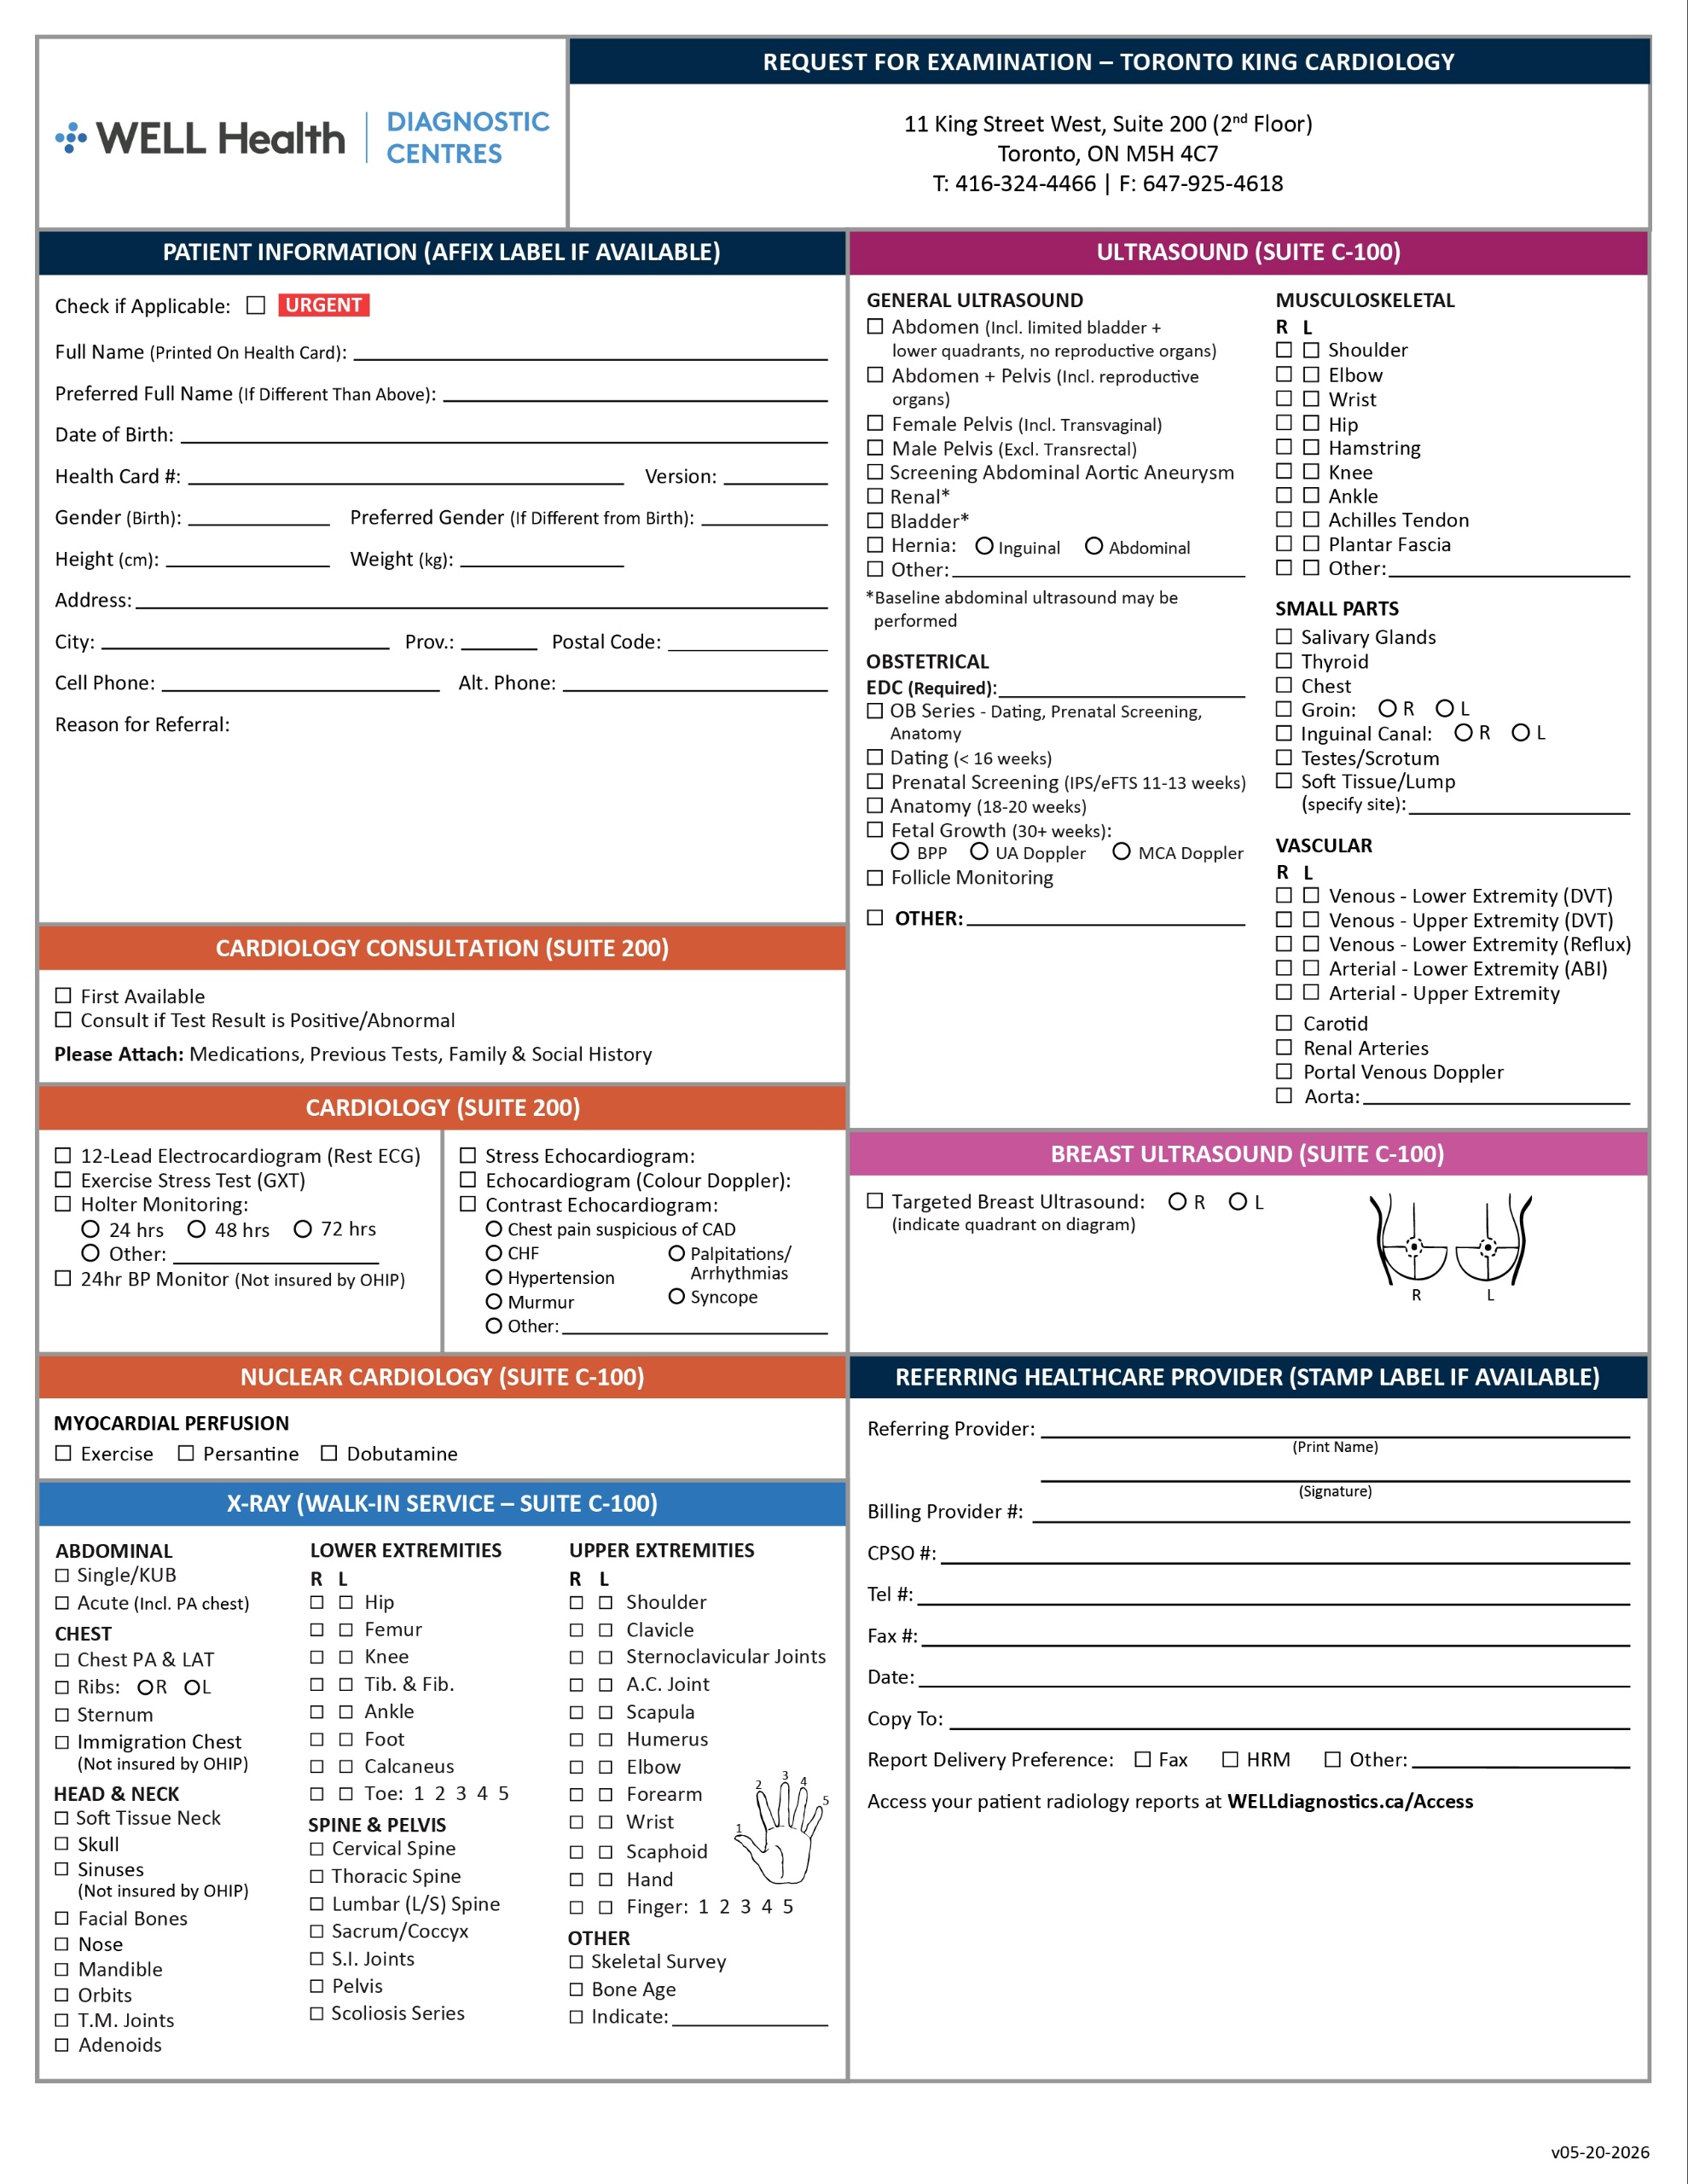
Click on your region below to download a PDF requisition, then CLICK HERE to find your nearest WELL Health Diagnostic Centre with contact information.

General Requisitions:

Specialty Requisitions:

2. EMR Requisition

Click on your EMR below to download an E-form requisition.

Follow these E-Form Installation Instructions:

  1. Open Accuro and select the Accuro “Menu” in the bottom-left corner of the screen.
  2. Click “Tools” then “Form Editor”. A new box will pop-up.
  3. Click Tools” on the top left corner of the form editor window and then “Publish/Download”.
  4. Go to the “Download Form” section
  5. Ensure category is in “Standard Forms”.
  6. Search for your applicable requisition form (E.g. WELL Health Diagnostic Centres).
  7. Click “Preview” as needed. Click “Download” to complete, and then click “OK”.


You can also click here to access Accuro instructions from their website, or call their support line at 1-866-729-8889.

Step 1: Download the E-Form zip files below (Save them to your desktop)


Step 2: How to Install a New eForm (.zip file)

CRITICAL: Always click ‘Import’. Never click ‘Upload’ for a compressed .zip file bundle. 

  • Go to Admin: Click Administration at the top of your OSCAR homepage.
  • Open eForms: Click Manage eForms.
  • Click Import: Click Import on the top menu bar.
  • Submit File: Click Choose File, select your downloaded .zip file, and click the final Import button.

Step 3: How to Set Up Direct Faxing


This links your system directory to the outbound fax line so you can select and fax the form directly from the patient’s chart without manual dialing.
 

  • Go to Consults: Click Consultation at the top of your OSCAR homepage.
  • Add Provider: Click Add Provider or Add Specialists.
  • Enter Contact Info: Type in the central triage address, phone number, and fax number.
  • Use Exact Names: Input WELL Health into the First Name field, and Diagnostic Centre into the Last Name field, then click Save.
  • Link to Cardiology: Click Edit Specialists Listing → Click Cardiology → Check the box next to WELL Health → Click Save or Update.

Step 4: How to Add a Doctor’s Digital Signature


Option A: Standard Setup (Appears on Rx, Consults, and eForms)
 

  • Go to Preferences on the main schedule dashboard.
  • Click Upload Signature Stamp.
  • Choosethe signature file and click save. 


Option B: Advanced Setup (Appears on eForms ONLY)
 

Use this option if a doctor wants to manually sign physical prescription pads but wants their signature automatically populated on electronic referral sheets: 

  • Upload the signature image directly into the system’s eForm Images folder.
  • Name the file exactly: consult_sig_111.png (replace ‘111’ with the doctor’s specific OSCAR User ID number).

Signature Image Requirements

  • Ink: Sign with a thick black pen (like a Sharpie™) on unlined pure white paper.
  • Size: Crop or resize the file to roughly 200–300 pixels wide by 80–100 pixels high.
  • Format:Save it as a .png with a transparent background layer so it does not hide underlying lines or text. 
  •  

Step 1: Click here to access custom forms then select Ontario forms and scroll down the list to find and download your regional WELL Health Diagnostic Centre requisition to your desktop.

Step 2: In PS Suite EMR, from the Records window, choose Settings > Edit Custom Forms.

Follow these steps to import the requisition into PS Suite:

  1. In the Forms window, from the File menu, choose Import Form(s).
  2. Navigate to your computer’s desktop and double-click the folder that contains the custom form files.
  3. Click the custom form from the list you want to import.
  4. Click the Choose button. If you are importing multiple forms at once, and depending on the speed of your computer, the import may take 30 seconds or more.

To import files by dragging and dropping, follow these steps:

  1. Navigate to the desktop and double-click the folder that contains the custom form files to import.
  2. Position both the folder window with your custom form files and the PS Suite Forms window that lists all of your existing custom forms side by side so that you can see both windows.
  3. Drag the highlighted custom forms files from that folder on the desktop and drop the files in the custom forms window. A message will inform you whether the import was successful.


You can also click here to access PS Suite instructions from their website, or call their support line at 1-800-265-8175.

3. Traditional Requisition Pads

HP Review

google rating
google icon

My staff and I are very pleased with the convenient times for patients to be seen. We also appreciate the ability to book various investigations, including BMD, mammograms, gastric studies, and cardiology assessments, many of which are not available at other diagnostic facilities.

– DR. ALTAF MAWJI